Reporting: Get access to Sorted Insights
Enable Power BI access for your organisation by assigning licenses and coordinating access to your reports.
Unlock deeper insights and make smarter decisions with Sorted Insights, our advanced data reporting platform, built from your organisation’s usage of the Ship and/or Track products.
This guide will explain how to assign your staff access to your reports, otherwise. For an overview of Sorted Insights please visit our dedicated guide.
How to assign a PowerBI license
Before anyone in your organisation can access Sorted Insights, you must first assign a Power BI Pro license to whoever will view the reports. Once this has been done, our Sorted Administrators can set up and provide your users with access to the Insights reporting platform.
You can grant a Power BI Pro license to your users through your Microsoft Azure Portal or the Microsoft Office 365 Admin Centre. You will likely need your IT administrator to help with this as the should have the permissions to carry this out.
Follow one of the methods below to assign a license to a user’s profile:
Assign license in Azure Portal
Log in to your Azure Portal.
Find the user profile you want to add a license to.
Select Licenses from the left panel.
Once clicked, the Product licenses that are assigned the user profile will appear.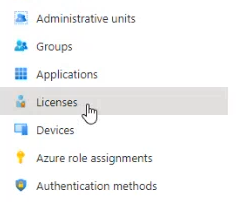
Click Assignments

Click the tickbox to add Power BI Pro.
Click Save.
A license will be added to the user’s Microsoft profile. They now have the permissions to access any Insights report that Sorted have available.
Assign license in Office 365 Admin Portal
Log in to your Office 365 Admin Portal.
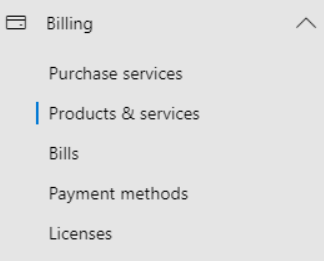
Click Licenses from the Billing menu on the left.
Select the Power BI Pro license from the list.
Search for the user(s) you want to assign a license to.
Click Assign at the bottom.
Next steps
- Check out our Insights overview