Learn how to configure, manage, and activate automated customer notifications using email and or SMS.
Track’s Notifications page enables you to set up automated email and SMS delivery notifications for your customers. To configure notifications, you’ll need to set up an account with one of Track’s compatible email or SMS providers, give Track your account details, and set up the details of the notification itself.
The set up of notifications in Track required three components.
Each component is available to configure in Settings > Notifications.
Notification Connectors Store the technical details Track uses to send emails and SMS messages, including send-from addresses and account details for third party providers. All Track notifications are powered by a notification connector.
Notification Templates Define the content of your notification. These can either be set up via a third-party provider, or (in the case of Track and Postmark notifications) edited from within the Track UI via the Notification Templates page.
Notification set up The individual messages sent to customers. When you set up a notification, you define the connector that will power it, the template it should use, and define when the notification should be sent.
The first step in setting up Track notifications is to create a notification connector. You can set up connectors for your existing Postmark (email), and SendGrid (email) accounts. Alternatively, you can set up a Track connector, which enables you to send emails without the need for a third-party service.
info
Before you can set up a notification connector to a third-party service, you’ll need to set up an account with the relevant provider and have your details to hand. This section explains the information you need to set up a connector to each of the providers.
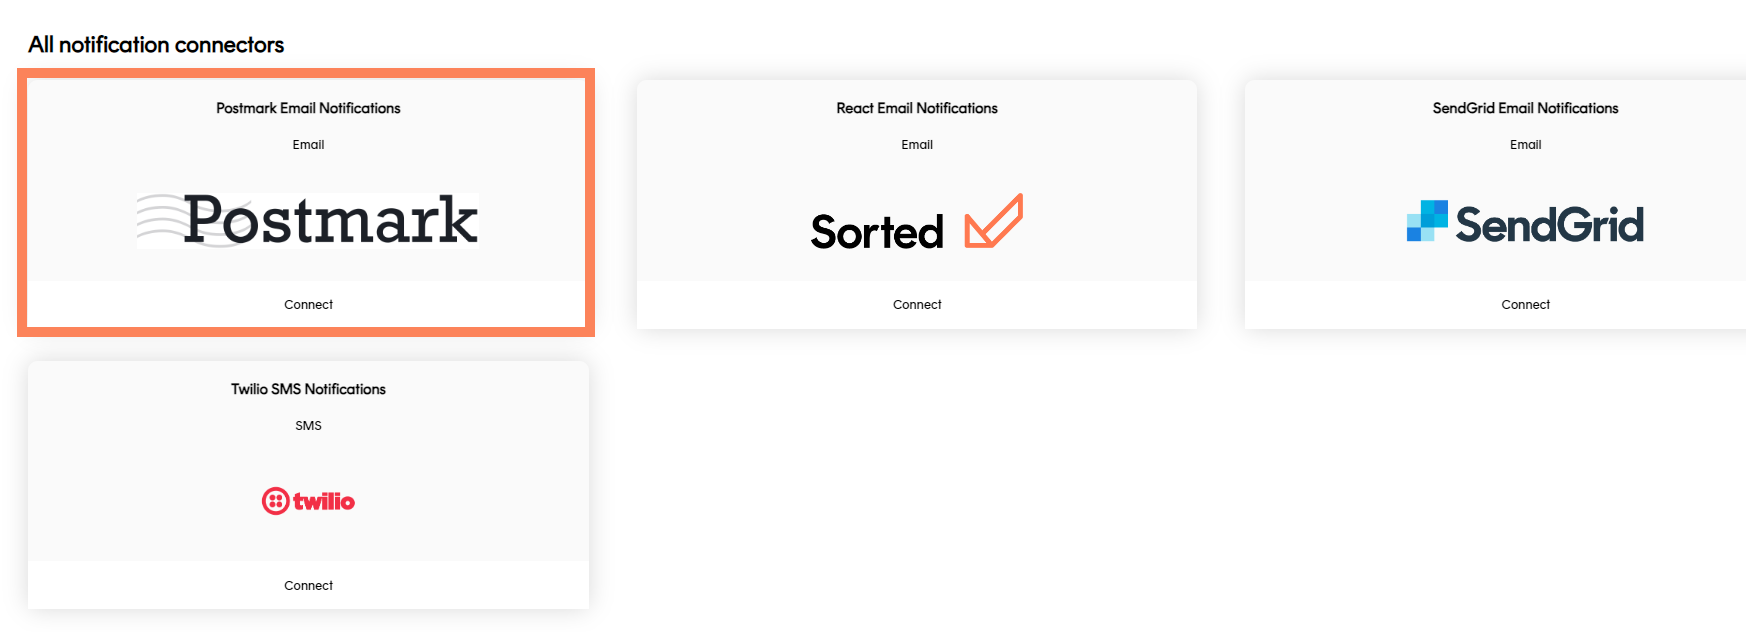
To set up a new connector, select Settings > Notifications > Notification Connectors, scroll down to the All Notification Connectors, and click Connect on the connector you want to set up. See below for specific information on each provider.
Once you have set a connector up, its tile moves to the Existing Connectors section of the Notification Connectors page.
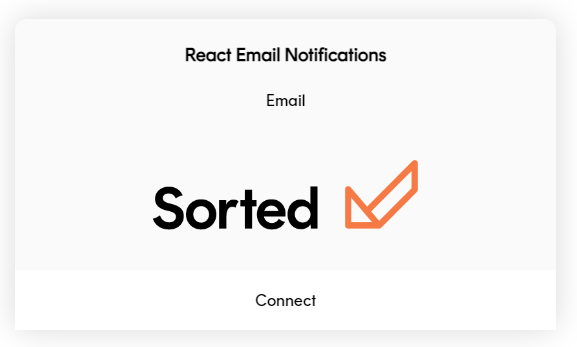
Track connectors enable you to send emails without the need for a third-party service. To set up a Track connector:
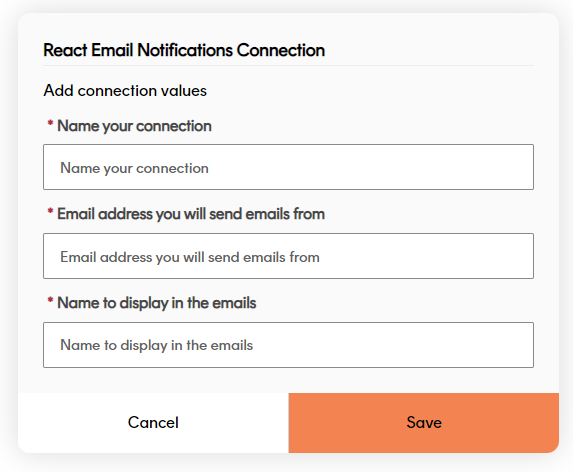
Select Settings > Notifications > Notification Connectors and click Connect on the Track Email Notifications connector.Track displays the Track Email Notifications Connection tile.
Enter a Name for your connection.
Enter the Email Address you want to send emails from.
info
If you use an email associated with your own domain then you will need to verify that domain once the connector has been set up. Alternatively, you can use a @react.sorted.com address, which does not require domain verification.
Enter the sender Display Name you want to use in your sent emails.
Click Save to create the connector and return to the Notification Connectors page.
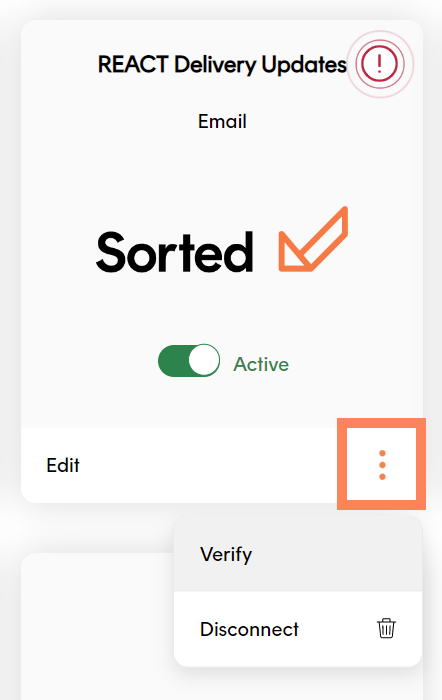
Verify custom domains
If you entered an address from a custom domain into the Email Address field, then you will need to verify that domain before you can use the new connector. Verifying your domain enables Track to confirm that you own the domain you want to send emails from.
To verify your domain:
Click the context menu on the tile and then click Verify.
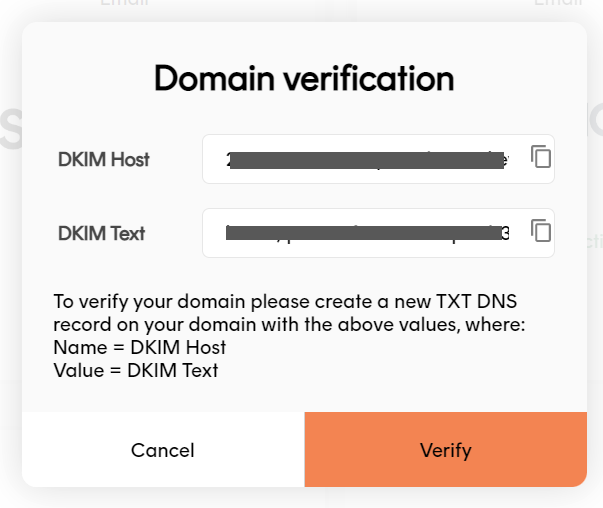
Track displays the Domain Verification dialog.
Make a note of the values in the DKIM Host and DKIM Text fields.
Create a new TXT DNS record on your domain, where Name = DKIM Host and Value = DKIM Text.
info
For information on creating TXT DNS records, see your domain host’s documentation.
In the Track UI, click the Verify button to verify your domain. Track checks the domain and indicates whether the domain was successfully verified.
info
It may take up to 48 hours for the DNS record you created to become verifiable. You can Cancel the dialog and return to complete the verification later if required.
Add Sender Signatures or Verified Domains. In order to send emails via Postmark you’ll need to have a Sender Signature set up for each email address you want to send from. Alternatively, you can verify all addresses in a particular domain by setting up a Verified Domain.
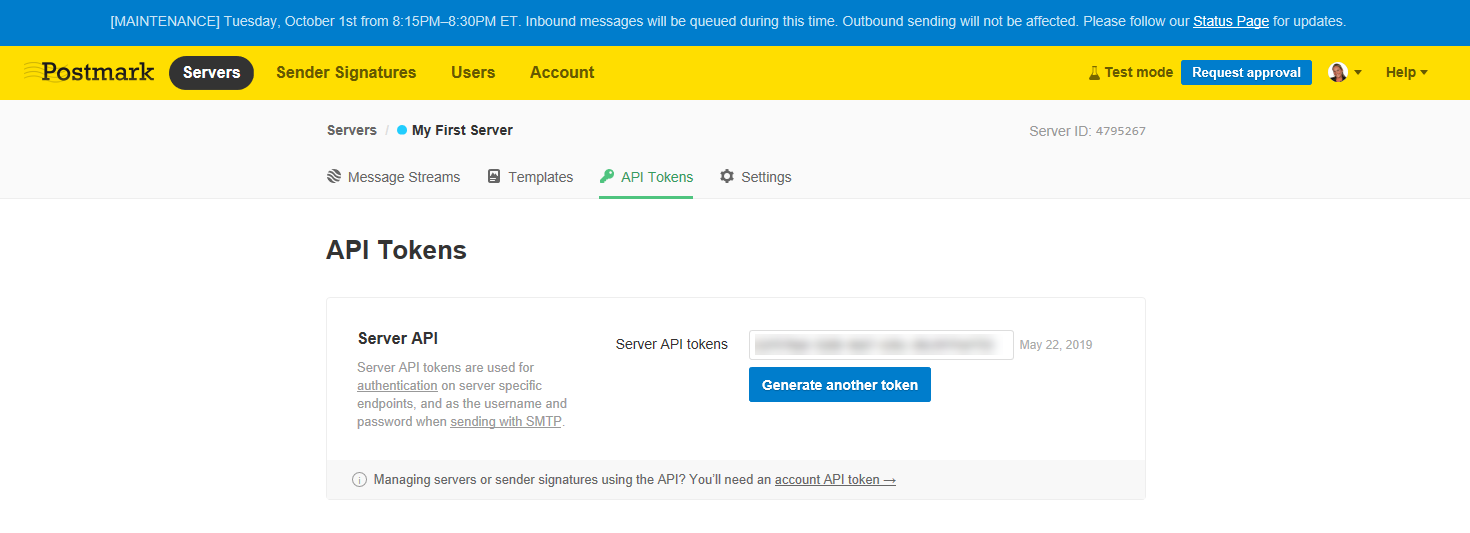
Make a note of your Postmark server API token. You can view your server API token by logging in to Postmark and selecting Servers > [your server] > API Tokens.
You’re now ready to set up a Postmark connector. To do so:
Select Settings > Notifications > Notification Connectors and click Connect on the Postmark Email Notifications connector.
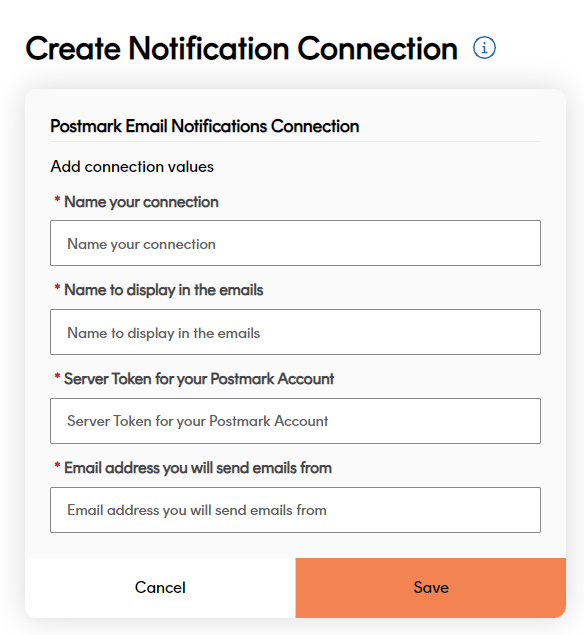
Track displays the Postmark Email Notifications Connection tile.
Enter a Name for your connection.
Enter the Server Token for your Postmark account.
Enter the Email Address you want to send your email updates from. The address must either have a Sender Signature or be part of a Verified Domain.
Set up a SendGrid API key with full access to the SendGrid service, and make a note of it. You’ll need this information in order to set up a connector to SendGrid.
info
You can only view your SendGrid API key immediately after creating it. For more information on setting up SendGrid API keys, see SendGrid’s documentation.
You’re now ready to set up a SendGrid connector. To do so:
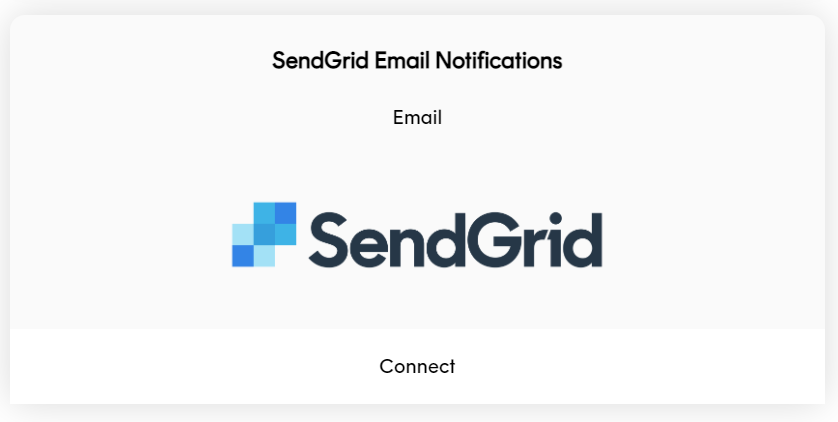
Select Settings > Notifications> Notification Connectors and click Connect on the SendGrid Email Notifications connector.
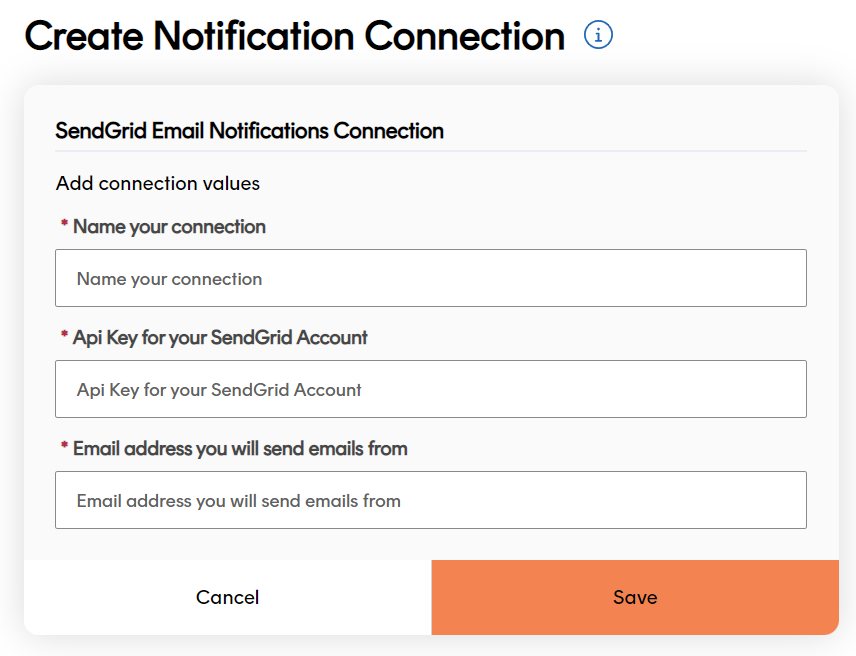
Track displays the SendGrid Email Notifications Connection tile.
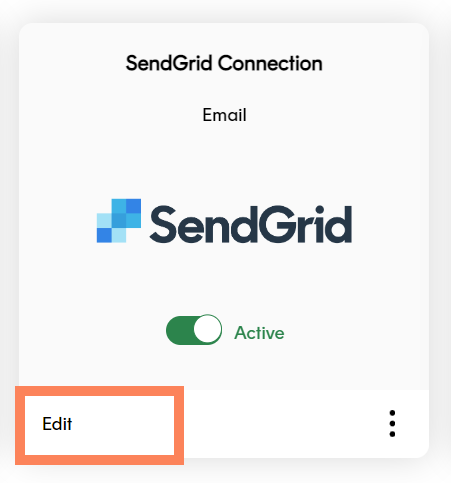
To edit an existing notification connector, open the Settings > Notifications> Notification Connectors UI page and click Edit on the connector you want to edit.
Track displays the Edit Notification Connection page for that connector. Make the required edits and click Save to save your changes.
Deactivating Existing Notification Connectors
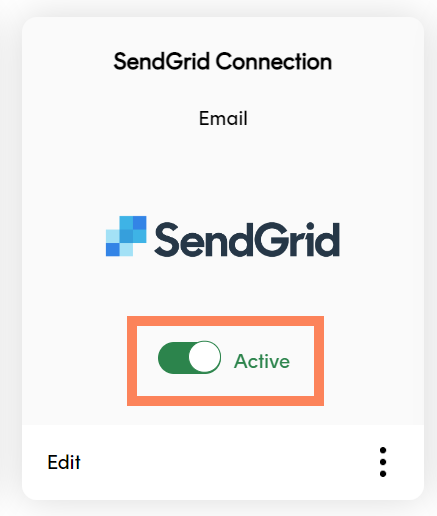
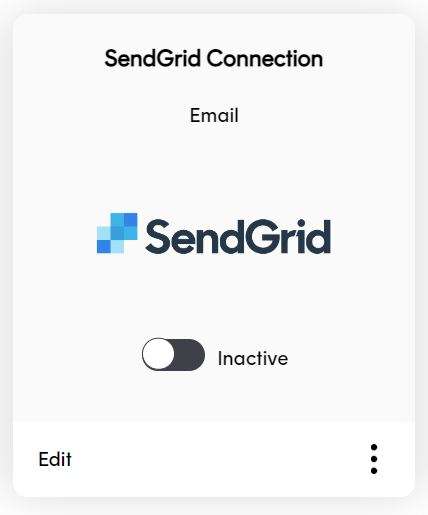
To deactivate an existing notification connector, open the Settings > Notifications > Notification Connectors UI page and click the Active toggle on the connector’s tile.
The toggle switches to the Inactive position, confirming that the connector has been deactivated.
Deactivating a notification connector means that Track can no longer retrieve data from that provider. However, its configuration is saved, and the connector can be reactivated by clicking the toggle again.
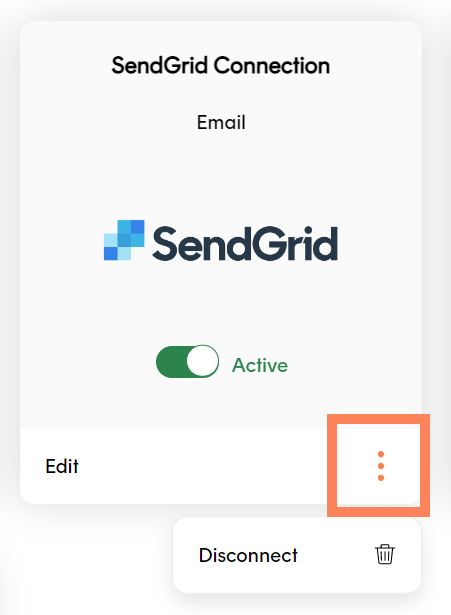
Disconnect existing notification connectors
To permanently disconnect a connector, open the Settings > Notifications> Notification Connectors UI page and click the Disconnect button on the connector’s tile.
A confirmation dialog is displayed. Click Yes to disconnect the connector.
Disconnecting a notification connector deactivates it and deletes all of its configuration. To reinstate a disconnected notification connector you would need to set it up again as a new connector.
The Notification Templates page enables you to create HTML email templates to use with your Track and Postmark connectors. Email templates define the content of the emails you send. You can add personalised customer details, such as names and tracking links, to your templates using custom variables.
To create a new notification template:
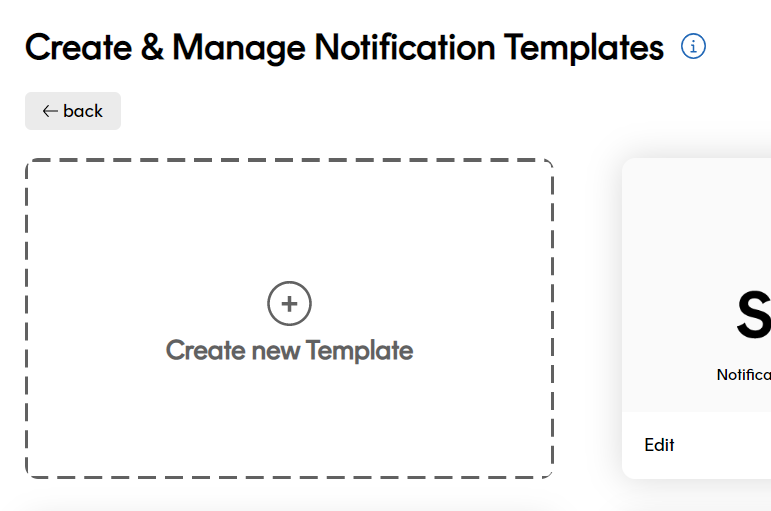
Open the Settings > Notifications > Notification Templates UI page and click Create New Template.
The Create Template page is displayed.
Enter a Name for the template. Names are used to identify the template in the Track UI.
Enter a Subject for the template. This is the subject line that the sent emails will use.
Select the Notification Connector that the template is to be associated with.
Enter your email content into the HTML dialog box. You can use standard HTML and internal CSS.
Click Save to save your changes and return to the Notification Templates page. The template you set up is now displayed on the page. When you set up a notification using the connector you selected in Step 3, your template is available in the Select Email Template list.
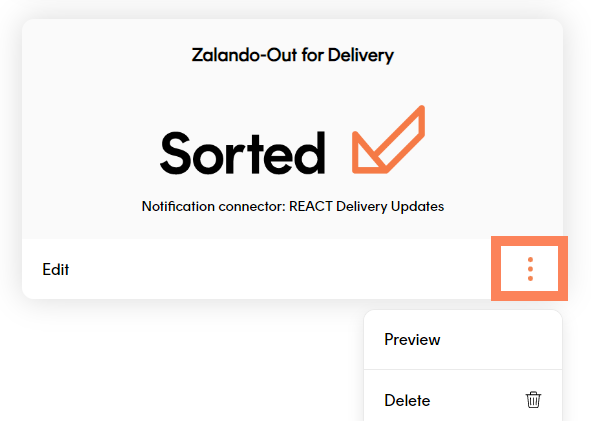
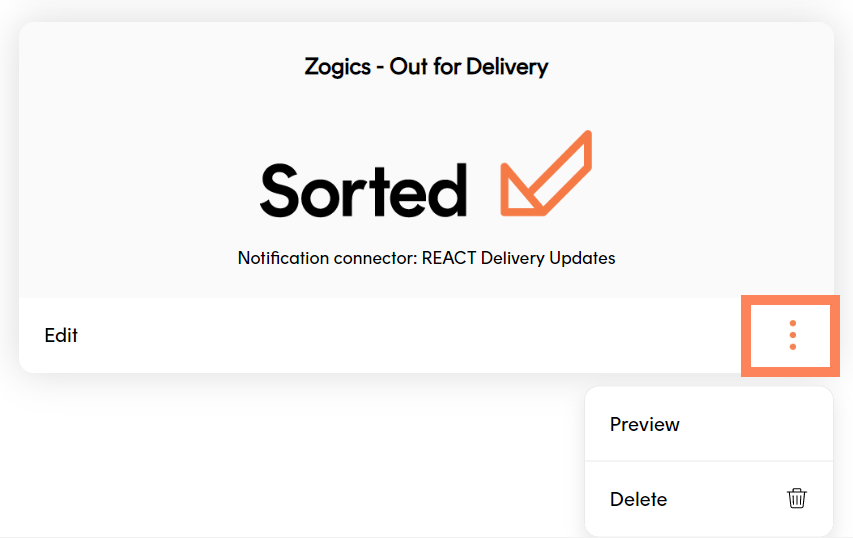
To preview your new template, click the option menu on the template’s tile and select Preview. Use the buttons at the top of the page to choose between previewing your template in desktop and mobile views.
To edit an existing template, open the Settings > Notifications > Notification Templates UI page and click Edit on the template you want to edit.
Track displays the Edit Template page. Make the required edits and click Save to save your changes.
Delete templates
To delete a template, open the Settings > Notifications > Notification Templates UI page, click the option menu on the relevant template, and click Delete.
Track displays a confirmation dialog. Click Yes to delete the template.
Once you’ve created your notification connectors, you’re ready to configure your notifications themselves. When you create a notification, you tell Track what connector you’d like to use, when Track should send the notification, and what the content of the notification should be. If required, you can also include a link to a Track tracking page within the notification.
Track notifications are triggered by shipment filters. Each shipment filter contains a list of shipment states and calculated events. When a shipment enters once of the filter’s states or events, Track sends any notifications using that filter as a trigger.
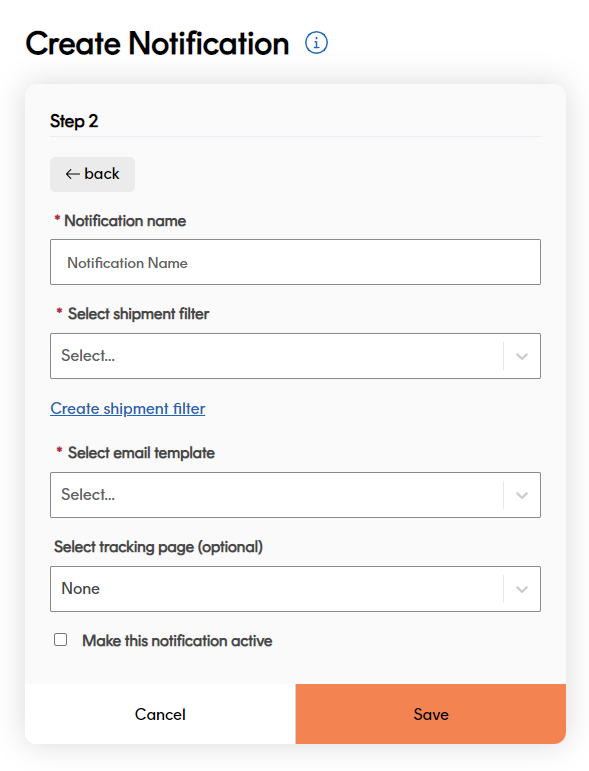
To create a new notification:
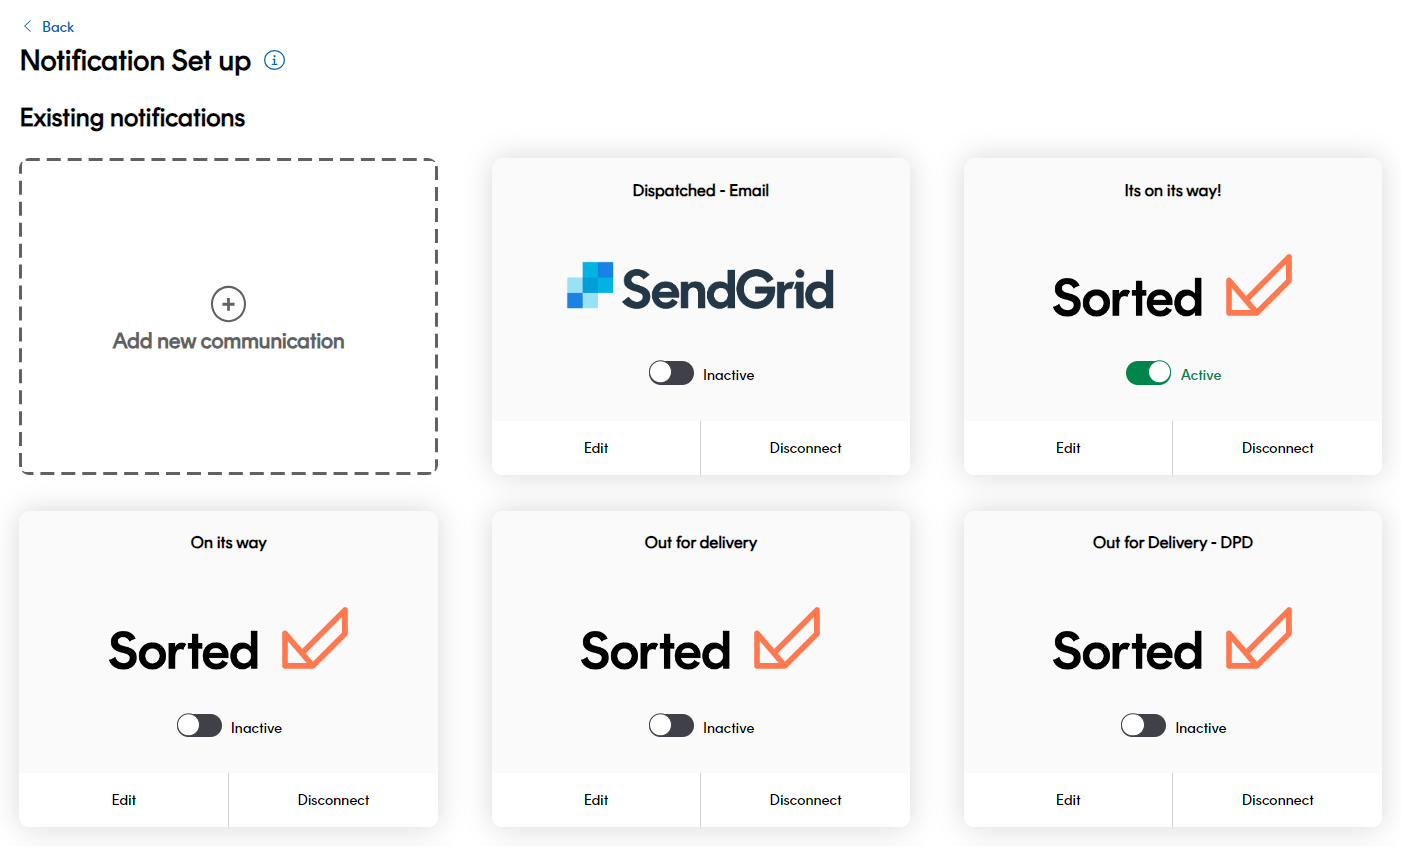
Select Settings > Notifications > Notification set up.
Click the Add new communication tile.
Select the connector you want to use for the notification, and then click Next to display editable fields relating to notification details.
Enter a Name for the notification.
Select the Shipment Filter that you want to use as a trigger for the notification.
info
If you have not yet created the shipment filter you want to use, click Create Shipment Filter. Track redirects you to the Create & Manage Shipment Filters page. When you have set your shipment filter up, return to the Settings > Notifications > Notification set up page to configure your notification.
Enter your notification content. This step differs depending on whether you are setting up SMS or email notifications:
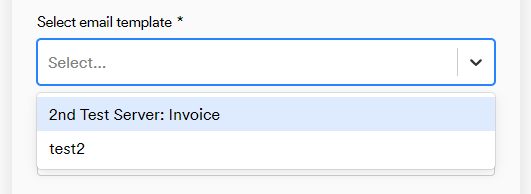
If you are setting up email notifications, select the email template you want to use from the Select Email Template drop-down list.
info
-For Track notifications, this list displays the templates you have configured for the selected connector on the Notification Templates page. -For SendGrid notifications, the list is automatically populated using the templates you have set up in SendGrid. -For Postmark notifications, the list displays both templates configured in Postmark and templates configured in the Track.
check_circle
Variables enable you to inject specific customer details such as names and addresses into your notifications. For more information, click to view the using custom variables guide.
If required, select a Track tracking page from the Select Tracking Page drop-down list. If you select a tracking page, then Track will insert a tracking link into the notification.
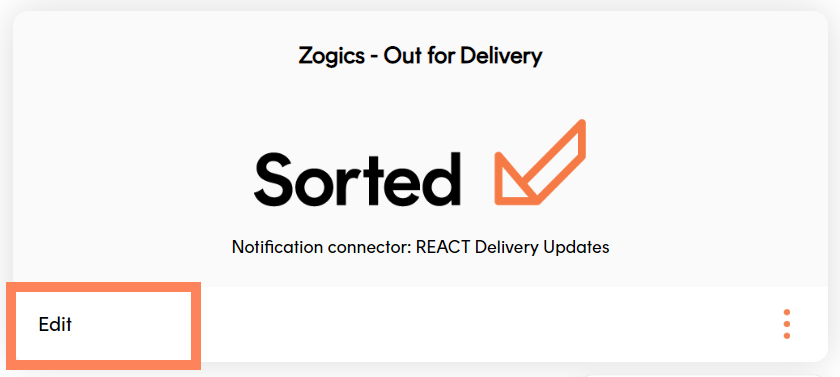
To edit an existing notification, open the Settings > Notifications > Notification set up UI page and click Edit on the notification you want to edit.
Track displays the Edit Notification page for that notification. Make the required edits and click Save to save your changes.
Deactivate existing notifications
To deactivate an existing notification, open the Settings > Notifications > Notification set up UI page and click the Active toggle on the notification’s tile. The toggle switches to the Inactive position, confirming that the notification has been deactivated.
Deactivating a notification means that Track will no longer send it, even if shipments meet the criteria set out in its shipment filter. However, its configuration is saved, and the notification can be reactivated by clicking the toggle again.
Disconnect existing notifications
To permanently disconnect a notification, open the Settings > Notifications > Notification set up UI page and click the Disconnect button on the notification’s tile.
A confirmation dialog is displayed. Click Yes to disconnect the notification.
Disconnecting a notification deactivates it and deletes all of its configuration. To reinstate a disconnected notification you would need to set it up again.
 You can only view your SendGrid API key immediately after creating it. For more information on setting up SendGrid API keys, see SendGrid’s documentation.