Manage webhooks
Automate customer updates and escalations by configuring webhooks triggered by Track shipment states and events.
Track uses webhooks to notify you of shipment events. This guide will explain how to set up webhook and define what triggers them with shipment filters.
Scroll down for more information, otherwise click for our guide on how to create a webhook.
What is a webhook?
A webhook is an automated message sent by an app, whenever a particular event occurs. The principle is fairly simple: you tell the app where to send the data (i.e. the URL it should send to) and when to send (i.e. the circumstances in which you want to receive data). Whenever those circumstances occur, the webhook sends its payload to the location you specified. You can then use that data how you see fit.
The key is that the webhook sends data to you proactively, you won’t need to make a request like you would with a regular API. This enables you to build efficient web services that don’t need to continually ping an app for changes to keep up to date.
Webhooks in Track
In Track, webhooks are used as means of keeping you up to date with registered shipments. They are triggered either by changes in shipment state, or by calculated events (i.e. when Track detects that a shipment may be missing or is late).
When a shipment enters a pre-selected state, Track sends the current details of the shipment and the event that caused it, to change state to a pre-configured location.
These real-time updates mean that you can automate processes such as customer communications and carrier escalations.
For example, you could set up a webhook that sends data whenever a shipment enters a state of Delayed. You could then feed the data from that webhook into your SMS gateway so that your customers are immediately alerted by text when delays occur.
Webhook payload
When a change to a shipment state triggers a webhook, the webhook sends the Shipment Events resource for the event that caused that shipment state change in its payload body. The payload has a similar structure to the response from the Get Shipment Events API combined with some properties from the Get Events API.
The maximum file size of each payload will be around 15 kilobytes.
For full reference details of the Shipment Events resource, click here.
The Shipment Events resource has two main parts:
shipment- This object contains a summary of the data Track holds on the shipment in question, including reference numbers, carrier information and expected dates.events- This object contains details of the event that triggered the relevant shipment state change, including timestamps and a list of the properties that were changed as a result of the event.
Pay particular attention to the property_summary array within the events object. This array lists any changes to the shipment.shipment_state.state, shipment.delivered_date, shipment.promised_date and shipment.shipped_date properties that occurred as a result of the event that triggered the webhook, including each property that was changed to and what it was set to previously.
Example Webhook Payload
  {
  "id": "ev_123456789123456789",
  "event_type": "StateChange",
  "trigger": {
    "initiator": "User",
    "details": "Initiated by customerId: cs_1234567891234567890.",
    "timestamp": "2022-10-31T11:06:00+00:00",
    "correlation_id": "5fcc1754-fe15-7aef-98ef-6e9e889efaed"
  },
  "timestamp": "2022-10-31T11:06:00+00:00",
  "message": "State of Shipment 'sp_112233445566778899' transitioned successfully.",
  "property_summary": {
    "single_properties": [
      {
        "property": "shipment.shipped_date",
        "value": "2022-10-30T17:18:27+00:00",
        "previous_value": "2022-10-30T17:18:27+00:00",
        "changed": false
      },
      {
        "property": "shipment.promised_date.start",
        "value": null,
        "previous_value": null,
        "changed": false
      },
      {
        "property": "shipment.may_be_missing",
        "value": "False",
        "previous_value": "False",
        "changed": false
      },
      {
        "property": "shipment.shipment_state.state",
        "value": "Delivered",
        "previous_value": "DeliveryScheduled",
        "changed": true
      }
    ],
    "collection_properties": null,
    "address_properties": null
  },
  "shipment_id": "sp_112233445566778899",
  "shipment_summary": {
    "id": "sp_112233445566778899",
    "shipment_state": {
      "state": "Delivered",
      "state_label": "Delivered"
    },
    "shipment_state_description": "Secure delivery - To household",
    "carrier": "carrier",
    "tracking_references": [
      "T00IKA0012345678"
    ],
    "tags": [],
    "custom_references": [
      "123456789"
    ],
    "retailer": "retailer",
    "shipment_type": "delivery",
    "leg_number": null,
    "promised_date": {
      "start": null,
      "end": "2022-11-04T00:00:00+00:00"
    },
    "expected_delivery_date": null,
    "delivery_slot_interval": null,
    "lateness": {
      "is_late": null,
      "hours_late": null
    },
    "may_be_missing": false,
    "delivered_date": "2022-10-31T11:06:00+00:00",
    "_links": null,
    "metadata": [
      {
        "key": "ShipmentKey",
        "value": "202211223344556677889900",
        "type": "String"
      },
      {
        "key": "OrderNo",
        "value": "123456789",
        "type": "String"
      }
    ],
    "signee": null
  },
  "_links": null
}
The richness of the data returned by the Shipment Events resource will depend to some extent on the data that was provided when the shipment in question was registered. If a webhook returns a shipment that was registered with just a carrier tracking reference, then the resource will only contain event details and that carrier tracking reference.
However, if a webhook returns a shipment that was registered with additional details (such as custom references and promised dates) then these details will be sent as part of the webhook’s payload, enabling you to build services that use this information without having to look it up elsewhere.
Webhooks and shipment filters
Each webhook must be associated with at least one shipment filter. A shipment filter is a set of shipment conditions that is used to trigger a webhook. When a tracking event causes a shipment to change state, any webhooks that are associated with that filter will send their data.
All Track shipments have a current shipment state, which is updated as shipment events occur. For a full list of Track shipment states, see the shipment states page.
In Track, each shipment filter can trigger multiple webhooks, and each webhook can be triggered by multiple filters. This many-to-many relationship enables you to create flexible configurations that don’t tie your business processes into your webhook configurations.
It’s handy to already have a shipment filter created before setting up your webhooks. To set up a Shipment Filter, check out our guide Manage shipment filters.
Manage webhooks
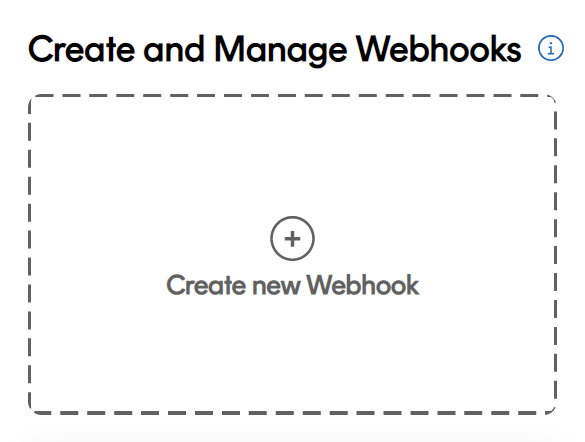
Webhooks are managed in Track via the Settings > Webhooks page. This page enables you to set up new webhooks and edit or remove existing ones. It displays a card for each webhook that you set up.
Create a new webhook
On the left, click Settings > Webhooks to display the Webhooks page. Click Create New Webhook.
Name your webhook and select the version that you require.
When you’re done, click Next.
The version depends on which payload you want to recieve from Track. If you are unsure of which version to use, your account manager is on hand to help and advise.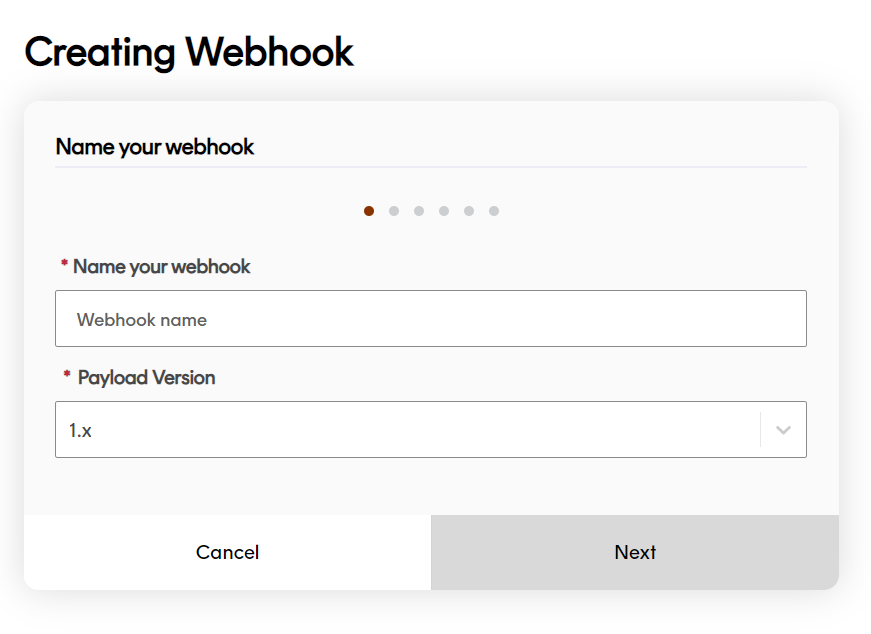
Click to select the shipment filter(s) that will trigger the webhook.
When you’re done, click Next.
(Optional) If there are no existing Shipment Filter(s) to select from, you can click Create Shipment Filter.
This will take you to a different page in Track. You will have to return to create a webhook once you have created a shipment filter. For more information, click for our guide on shipment filters.The example below selects two Shipment Filters to include in the webhook.
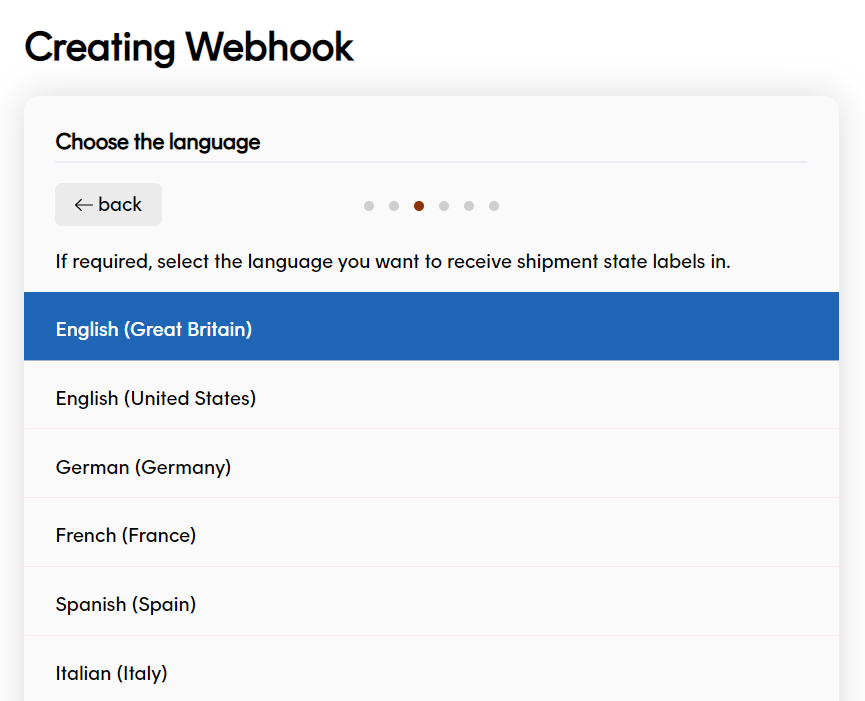
Click the language that you want to receive shipment state labels in. When done, click Next.
If you want to receive shipment state labels in a different language to English (Great Britain), you will have to add custom shipping state labels via the Settings > Shipment State Labels page. Click to follow our guide on custom shipment state labels.
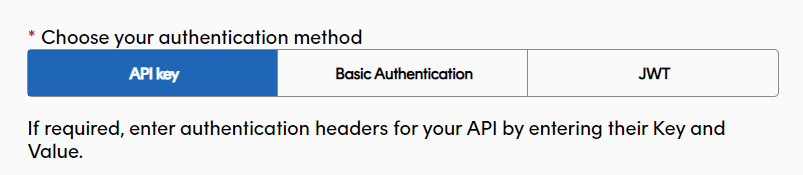
Click the authentication method for the service you want the webhook to send data to.
Track supports the authentication methods API Key, Basic authentication and JSON Web Token (JWT). Scroll down for more information on the method you want to use.
Click for the instructions on each method:
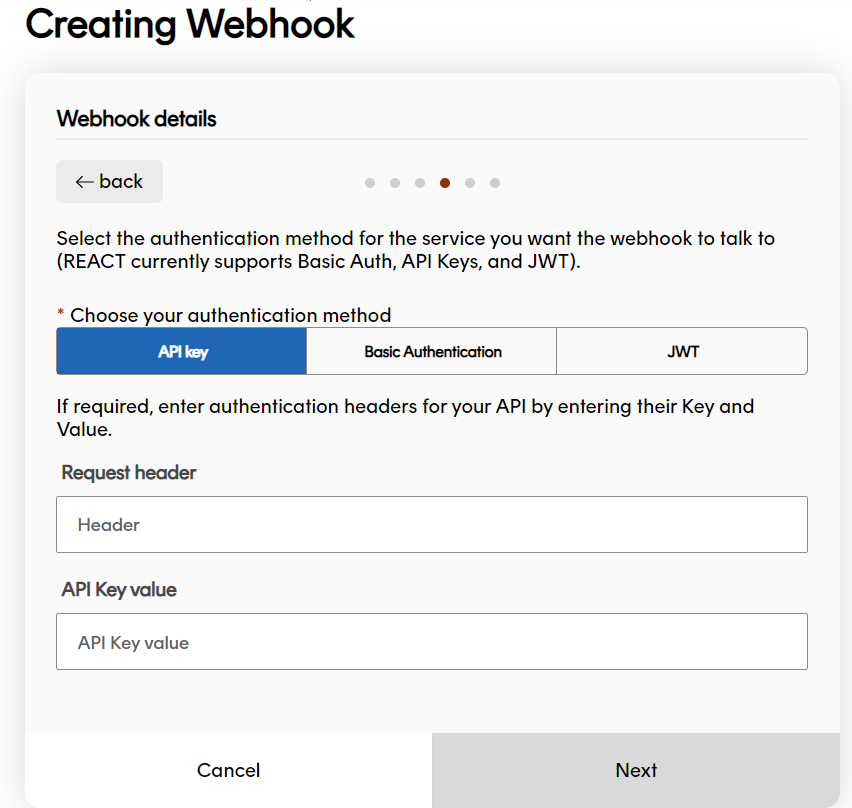
API
Click the API Key tab, type the Request header and API key value that the webhook should authenticate with. The webhook will send this key-value pair each time it sends data.
Basic Authentication
Click the Basic Authentication tab, type a Username and Password for the webhook to use. The webhook will authenticate with these details each time it sends data.
JSON Web Token
To set up JWT webhook authentication, you’ll need to run a service that can create JWT tokens and send them back to Track.
When you configure JWT authentication in Track, you specify the details of that service and tell Track where in the webhook data it should place the token it receives.
Click the JWT tab to display the configuration fields.
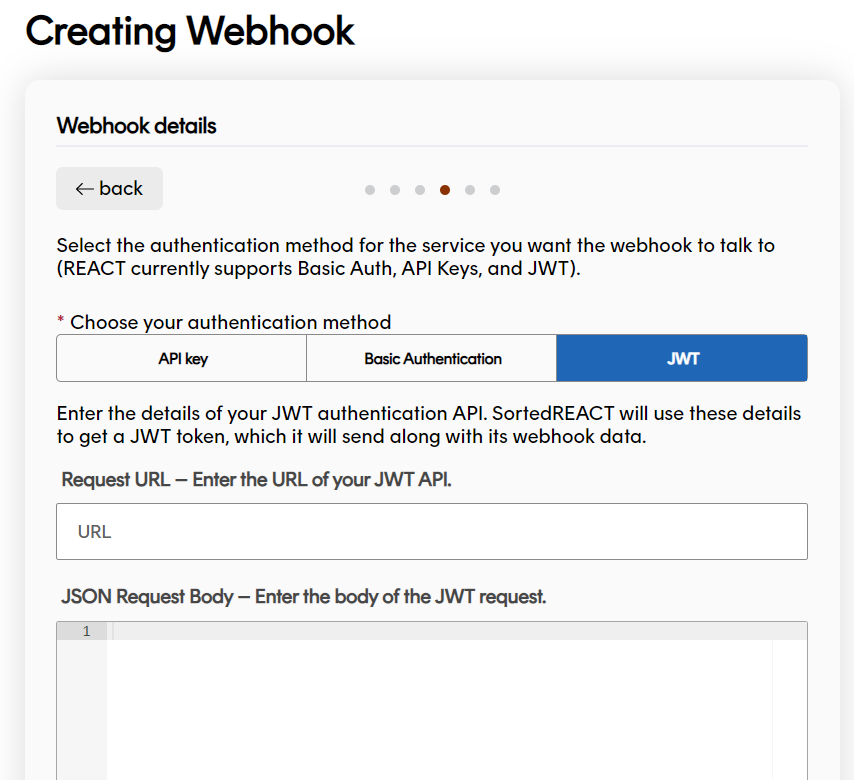
Enter the URL of the service Track should make the JWT request to.
Enter the JSON that Track will need to include in the body of the request into the JSON Request Body field.
For example, if your JWT service requires callers to supply a username and password in the body of the request, you could enter the following:
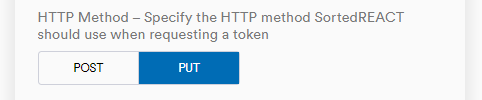
Example JWT JSON Request Body
  {
   "username": "EXAMPLE_USERNAME",
   "password": "EXAMPLE_PASSWORD"
}
Click either POST or PUT for the HTTP Method that Track should use when requesting the token.
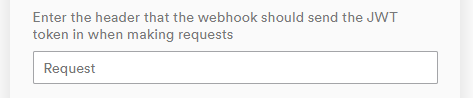
In the Request Header field, enter the header that the webhook should send the resulting JWT token.
Enter the value mask which Track should use when sending the resulting token into the Value Mask Format field. The token itself should be represented as
$JWT$.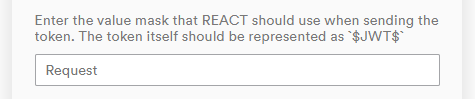 The Request Header and Value Mask Format fields enable you to specify exactly how Track should use the token it receives from your authentication service. When a JWT-authenticated webhook sends data, it places the token inside the specificed header key. The corresponding value for this header key is the contents of the Value Mask Format field, where
$JWT$represents the token itself.
For example, if you wanted Track to send the token in a header named Authentication, with a corresponding key of Bearer (token), you would enter:
Request Header:Authentication
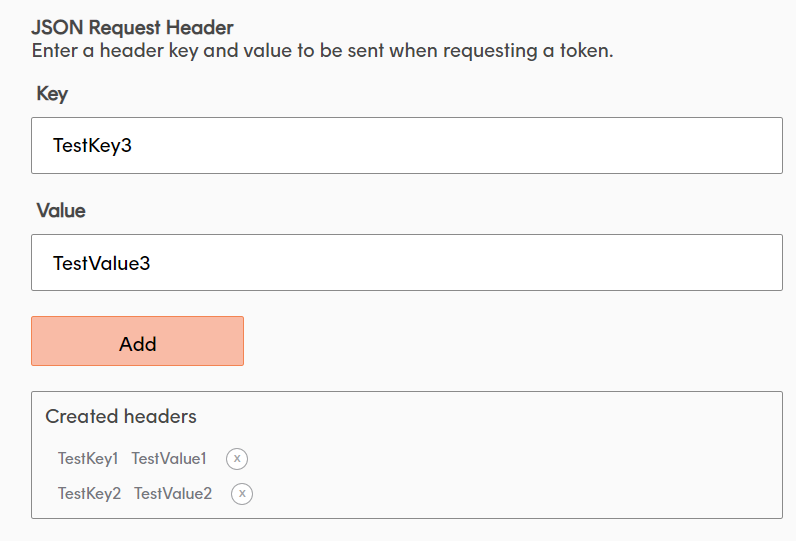
Value Mask:Bearer $JWT$Enter any headers that Track should include use when requesting the token.
Type a Key and Value.
Click the Add button and repeat the process to add multiple Keys and Values. Your added values will be displayed below.
 Your JWT service should be configured to return JWT tokens in the following format:
{'access_token': '[jwt-here]'}. Track cannot accept tokens in alternative formats.
Click Next to finish setting up your authentication method.

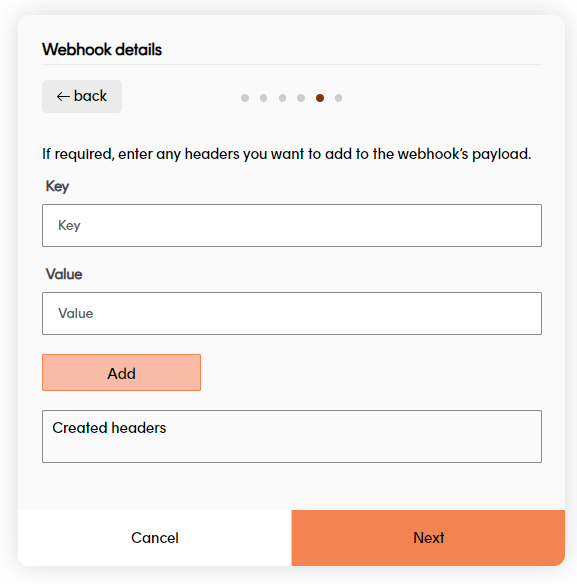
(Optional) Enter any headers you want the webhook to include in the data it sends to you.
Type a Key and Value and click Add. You can add multiple headers if you need to.
Click Next to move on.
Enter the Request URL you want the webhook to send the payload to.
Then click the HTTP method of
POSTorPUT.You can click Send test webhook to test your configuration and view a payload example.
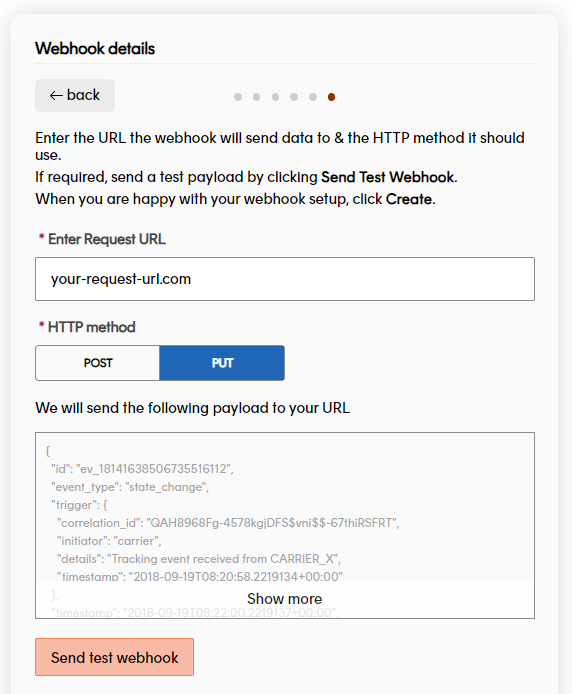 Enter your Request URL details carefully, as Track doesn’t attempt to re-send the payload if it wasn’t received.
If you’re happy with the webhook config, click Create.

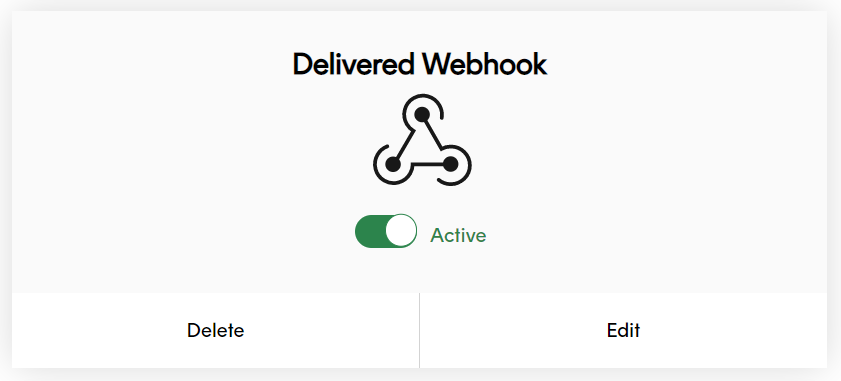
Your new webhook will appear as a tile on the Webhooks page.
Great job! You have created a webhook and chosen the shipment filters that will trigger it.
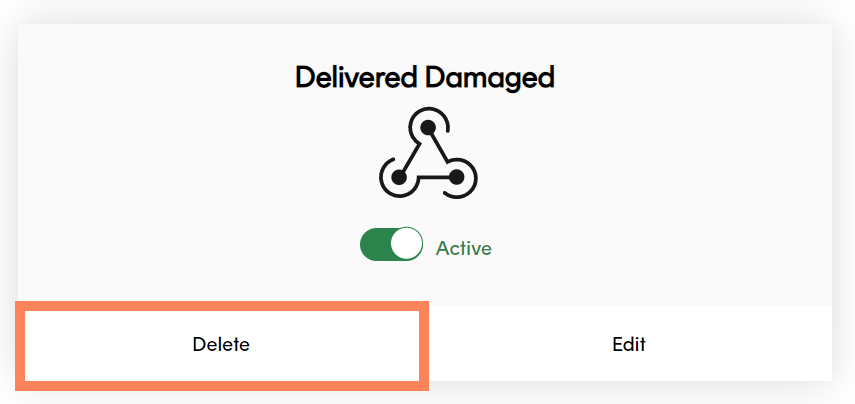
By defaut, your webhook will now be Active. Click the toggle to switch to Inactive.
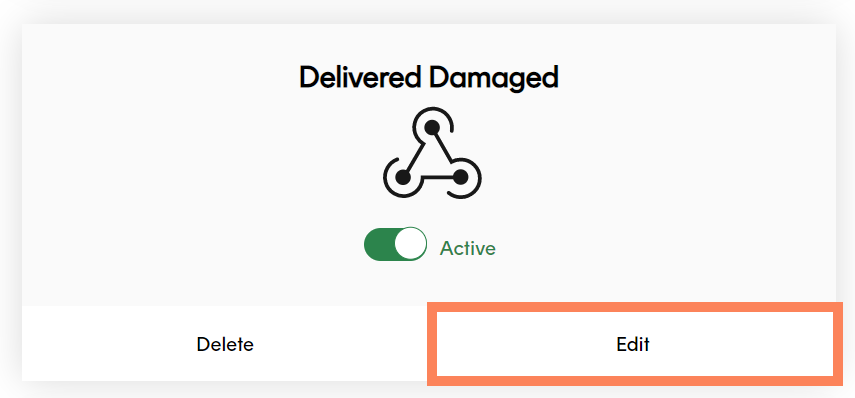
Edit webhooks
If you need to edit an existing webhook, click Edit at the bottom of a webhook tile.
To deactivate and reactivate a webhook, click the Active / Inactive toggle on the webhook’s tile. An inactive webhook will not send data even if a Shipment Filter’s criteria is met.
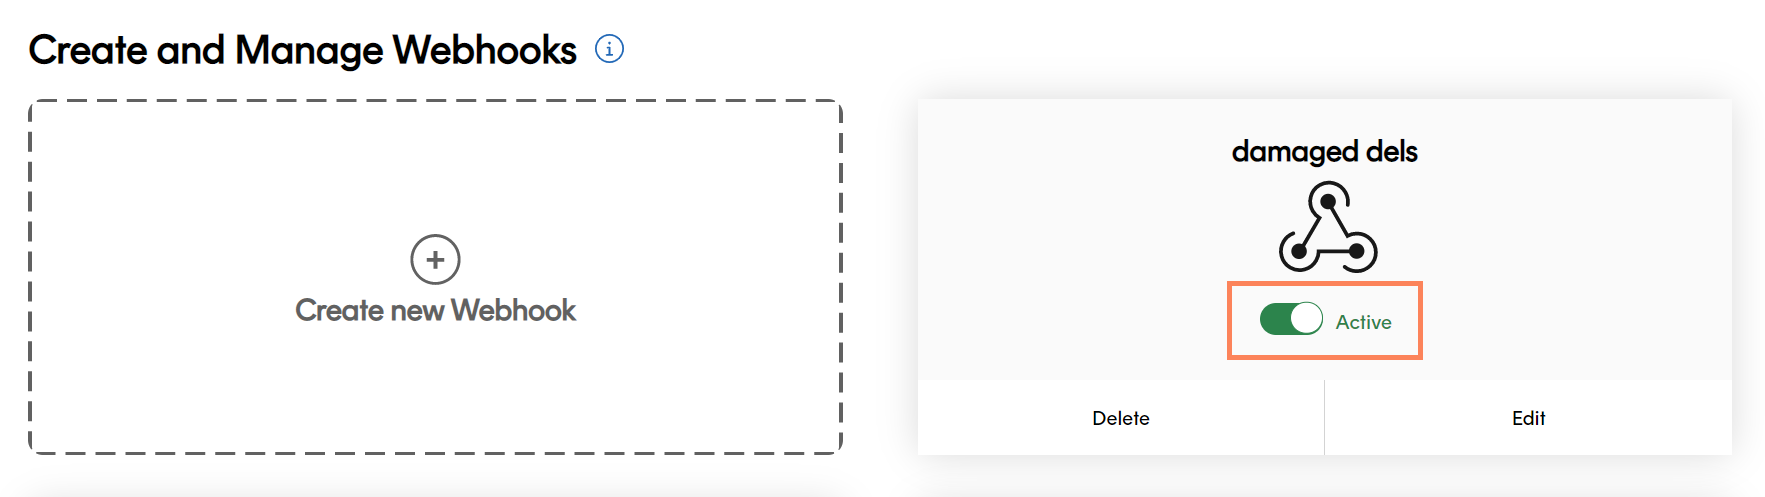
To delete a webhook, click the Delete button on the webhook’s tile and click Confirm on the pop-up confirmation dialog.
View webhook logs
The Webhook Logs page enables you to view details of each time that a particular webhook has been triggered. This information could help you to better understand how your webhooks are being used, or to troubleshoot potential problems.
To view the Webhook Logs, you can either:
Click the webhook’s tile on the Settings > Webhooks page.
OR
Navigate to this URL
https://app.sorted.com/settings/webhooks/wh_xxxxxxxxxxxxxxxxxxxx/logsReplace
wh_xxxxxxxxxxxxxxxxxxxxwith the unique ID of the webhook you want to view details for.
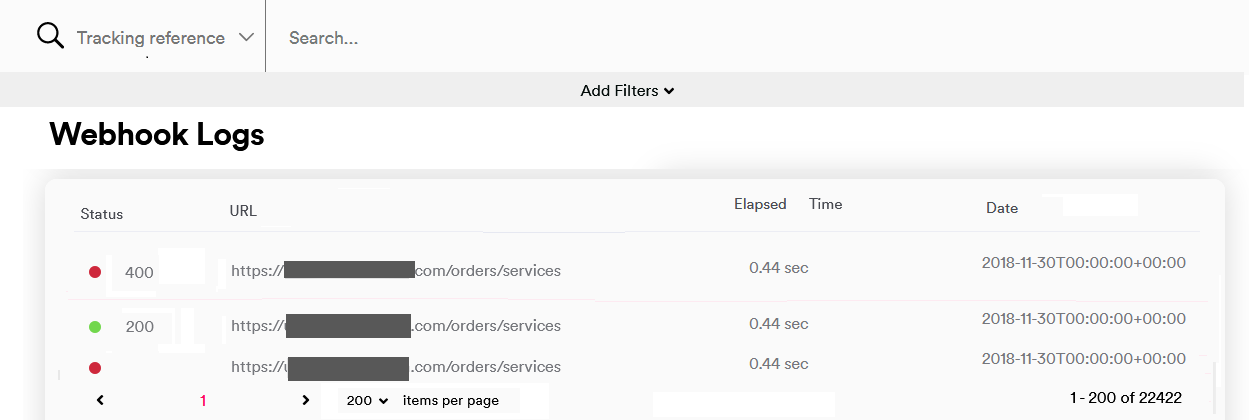
The Webhook Logs page displays all events for that webhook, the following information is included:
- The Code of the response to the webhook’s payload (that is, whether the data sent by the webhook was received and recognised as valid by the destination service, or an error message was returned).
- The URL that the request was sent to.
- The Elapsed Time between the webhook being triggered and a response being received.
- The Date and time that the webhook was triggered.
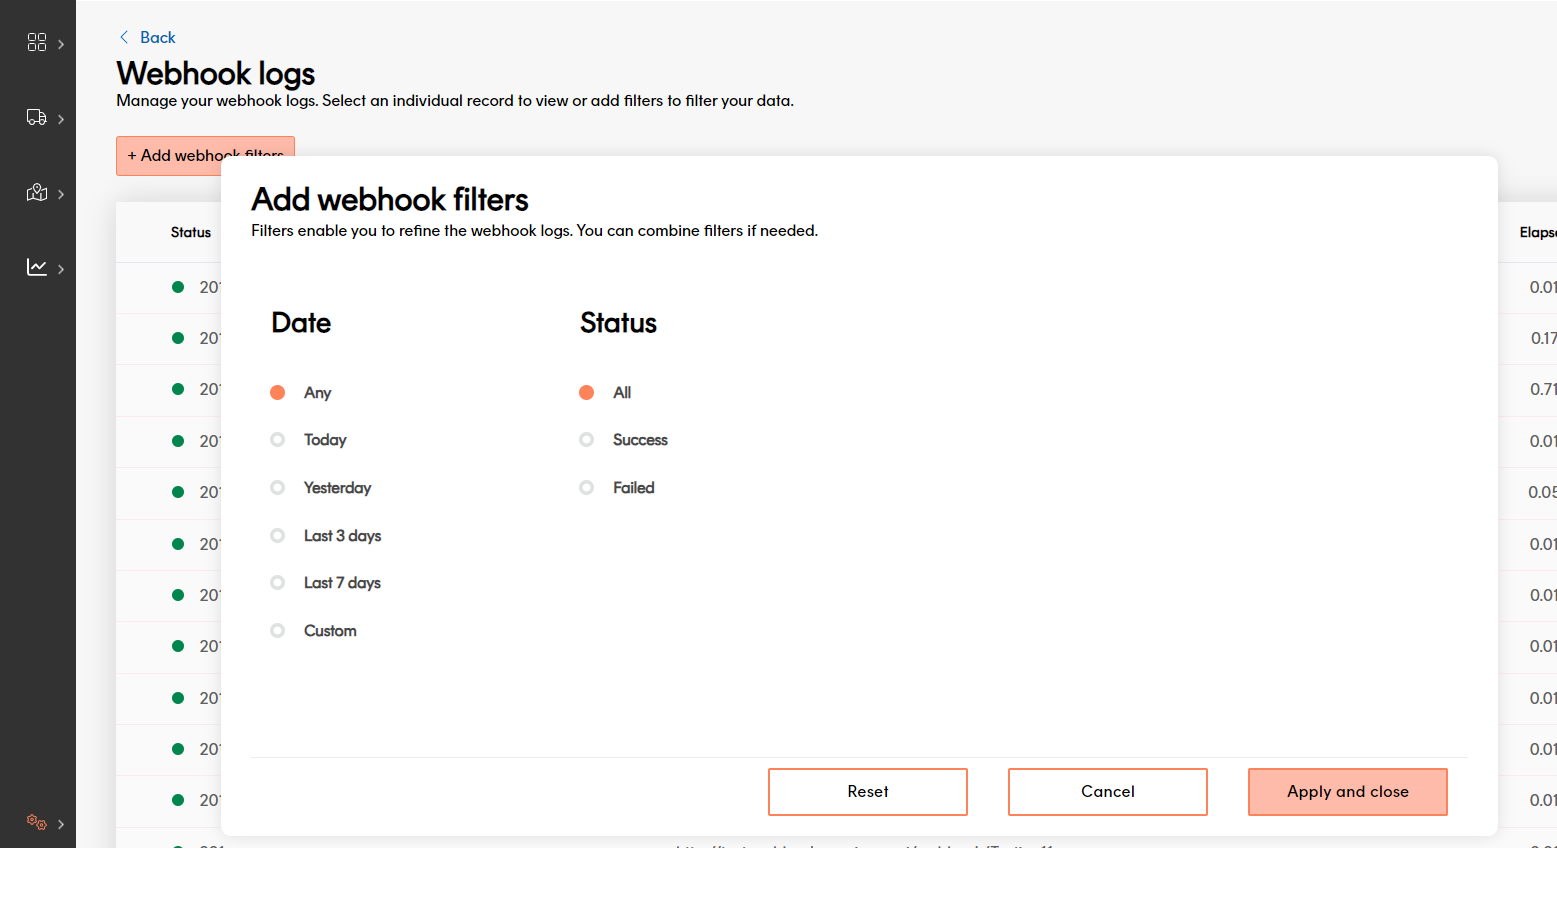
To filter the list of webhook events, click the Add Filters drop-down. You can filter either by the Date that the webhook request was sent, or by Status (that is, whether the webhook request was successful or returned an error).
To view further information on a particular webhook event, select it from the list. Track displays the Request Details page.
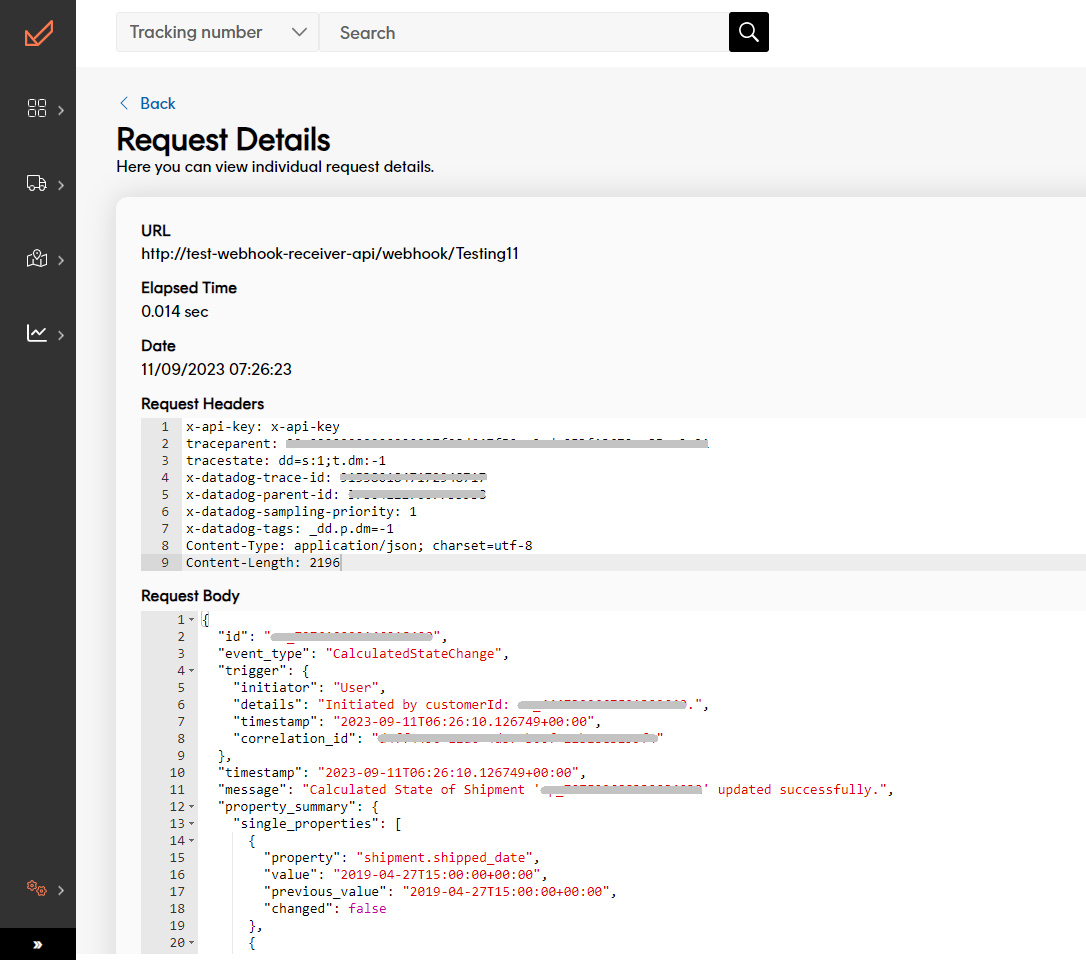
The Request Details page displays the following information for the selected request:
- The URL that the request was sent to.
- The Elapsed Time between the webhook being triggered and a response being received.
- The Date and time that the webhook was triggered.
- The Request Headers sent. For information on configuring the headers that your webhooks send, see step 7 of the Create a new webhook process.
- The Request Body sent. For more information on the data sent in the body of Track webhooks, see the Webhook payload section.
- The Response Headers and Response Body received (where applicable).
User access
Admin users can view, edit and delete webhooks.
Marketing users can view existing webhooks but not edit configuration.
Dashboard users do not have access to this feature.
Example configuration
This section gives a simplified example of how webhooks and shipment filters can be linked. Suppose you want to set up the following business processes:
- If a shipment is In Transit, Delivered, or has a Collection Reminder available, send an SMS update to the customer.
You could put these states in a shipment filter called Updates. - If a shipment has a Final Collection Reminder available, or is in a state of Action Required, send SMS and email updates to the customer.
You could put these states in a shipment filter called Action Required. - If a shipment has a Proof of Delivery available, send an email to the customer.
You could put this state in a shipment filter called For Reference. - If a shipment is Delayed or has had a calculated event, send an SMS update to the customer and escalate to the carrier.
You could put this state in a shipment filter called Escalate and Update. - If a shipment is Damaged or Destroyed, escalate to the carrier without initially sending an SMS to the customer.
You could put these states in a shipment filter called Escalate.
You could then set the following webhooks up:
- One that sends data to your SMS gateway to trigger text shipment state updates to your customers.
- One that sends data to your Email gateway to trigger email shipment state updates to your customers.
- One that sends data to your CRM, from where it is used to generate escalation cases with your carriers.
During the webhook setup process, you would link the webhooks to the shipment filters as follows:
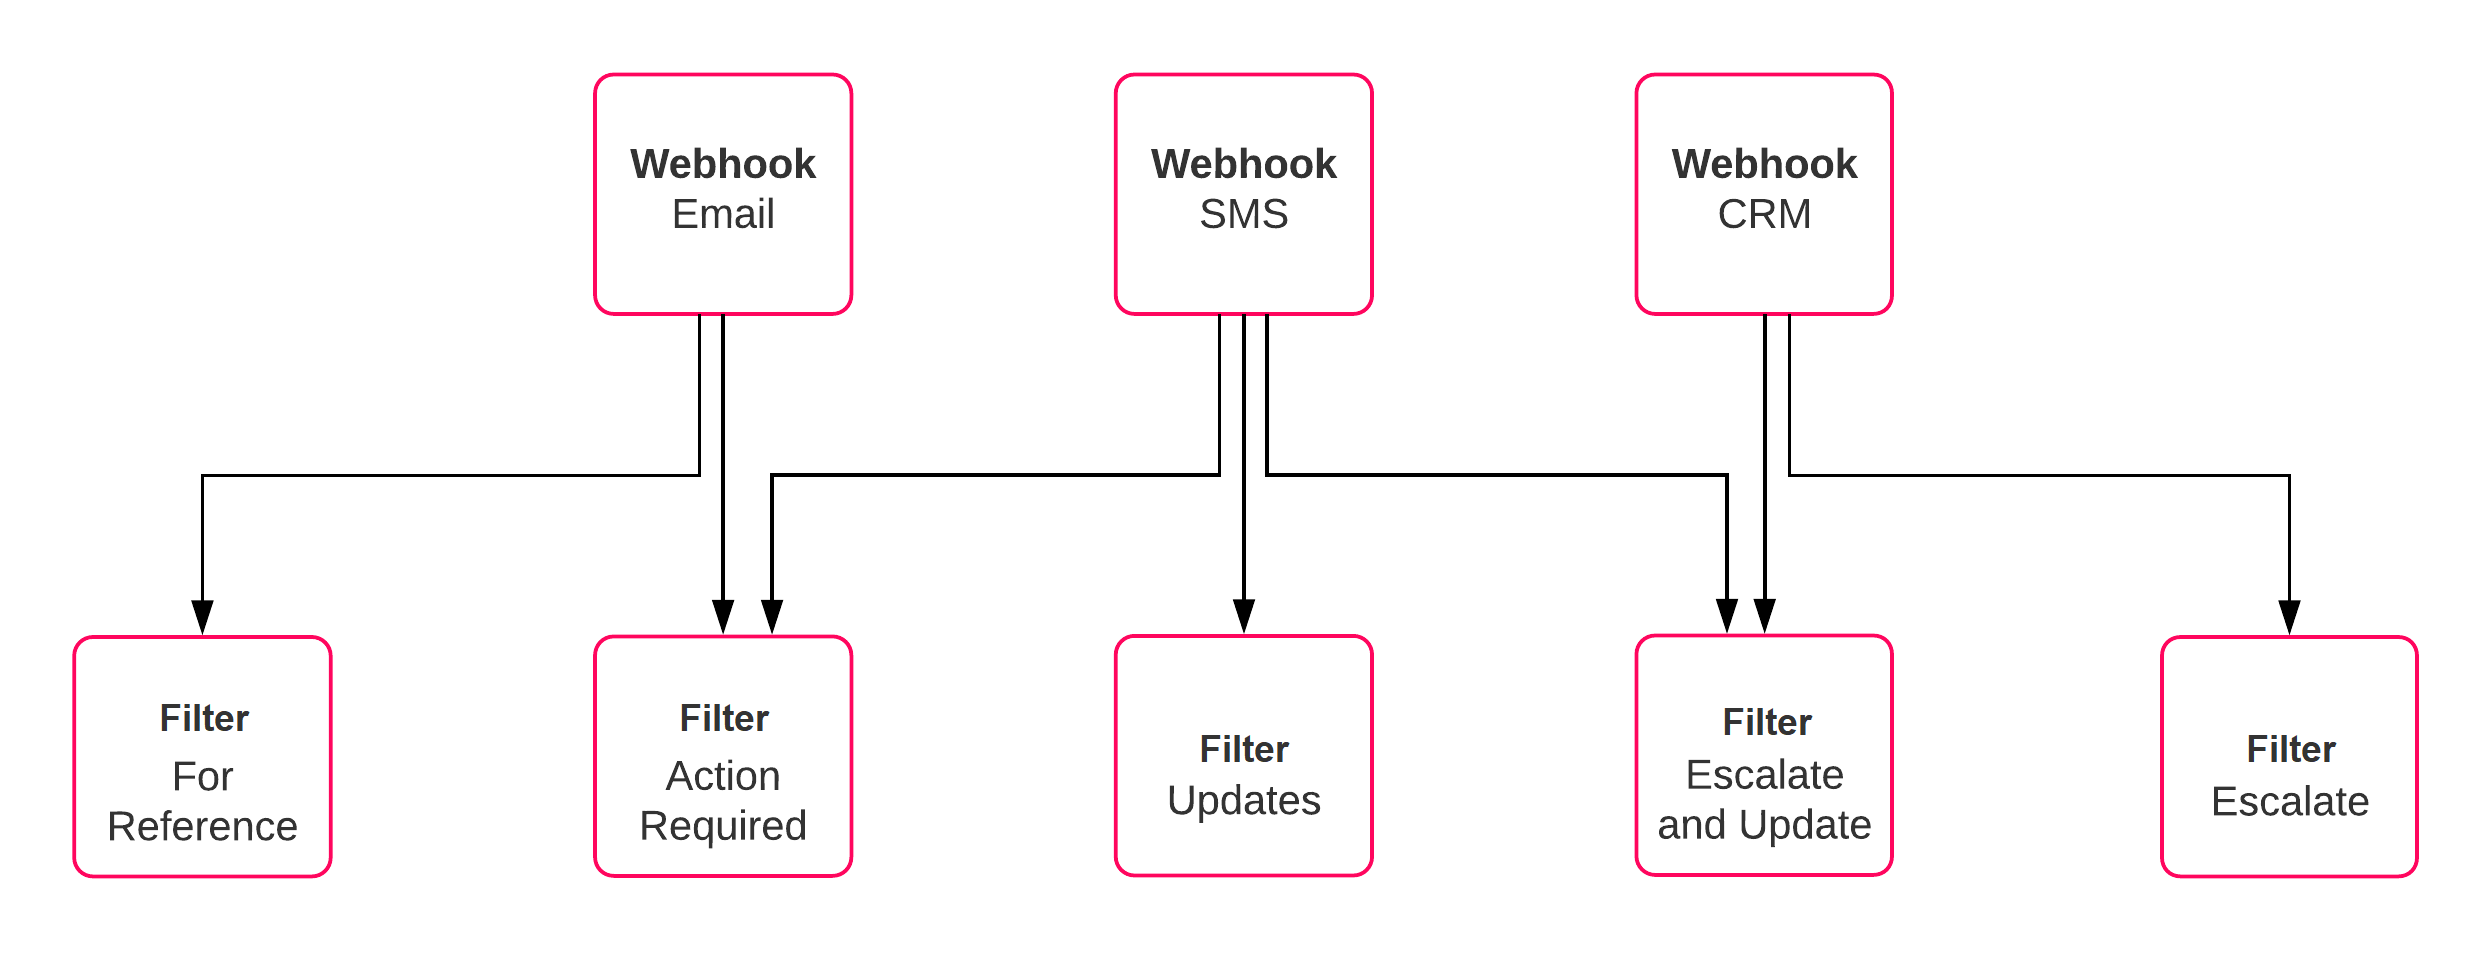
Note that the shipment filters are based around business processes, and the webhooks are based around the services you want Track to communicate with. This means that if you want to, say, change the Updates filter so that it sends out Whatsapp messages instead of SMS, you could use your existing filter with a new webhook. Equally, if you wanted to use email updates with a new shipment filter, you could simply create the filter and add it to the existing Email webhook.
However, this is only a suggested workflow. Track enables you to combine shipment filters and webhooks in whatever way you feel is best for your business.
Next steps
View our product feature guides below: