Settings
Manage your API keys, SFTP accounts, carrier connectors, state labels and custom events in Track settings.
Track settings
This guide covers how to use the sections in the Track Settings page.
Settings allows you to:
- Create API keys
- Create SFTP accounts
- Create and manage carrier connectors
- Customise shipment states
- Notification settings; and
- User management
The Settings section also features webhook and shipment filter setup pages. This functionality is covered in detail on the managing webhooks page and manage shipment filters.
Set up API Keys
API keys enable you to use Track’s APIs. If you attempt to make an API request without a valid API key then Track returns a 401 Unauthorized response.
All Track API keys offer access to all our API endpoints. For a full list of API endpoints, see the Track API Reference.
Creating a new API key
From the Track dashboard, select Settings > API Keys to display the Create & Manage API Keys page.
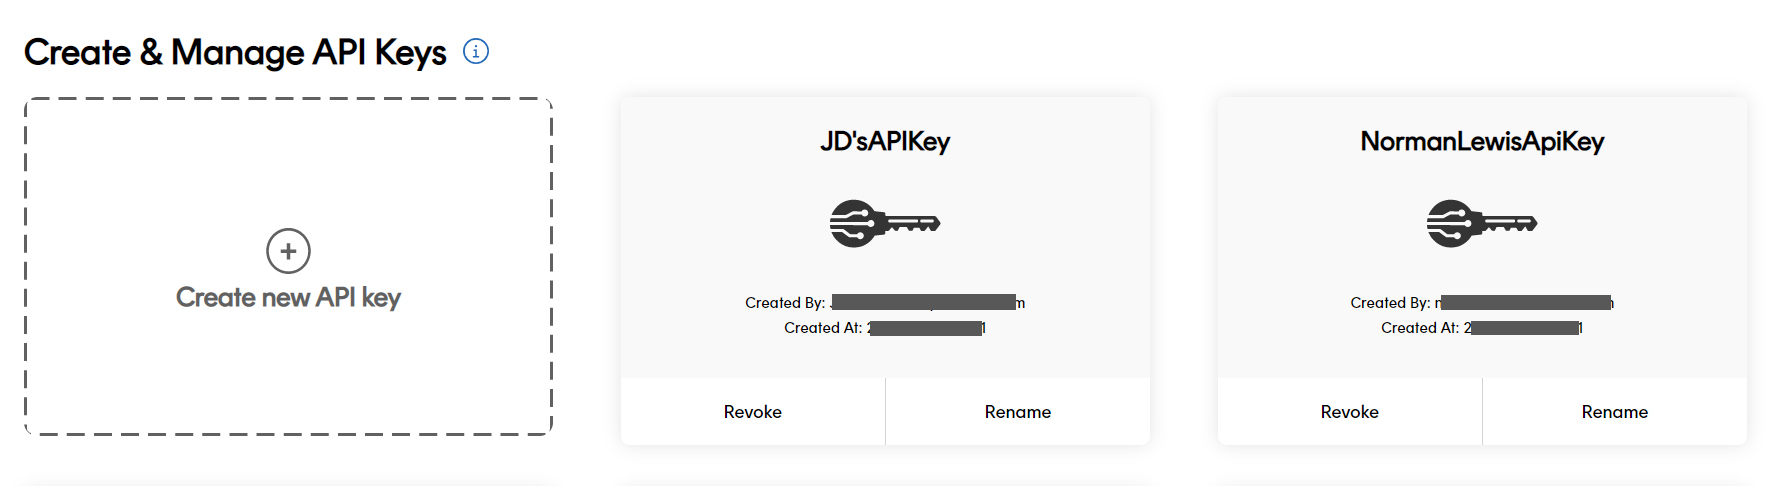
Click Create new API key to display the Create New API Key tile.
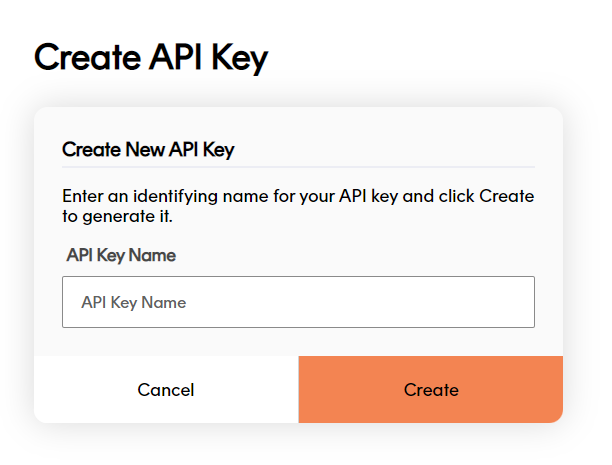
If required, enter a name for your API key into the Name your API key field. This step is optional, but highly recommended. Entering a name makes it easier to identify your key on the Create & Manage API Keys page.
Click Create. Track displays a dialog box with your API key in it.
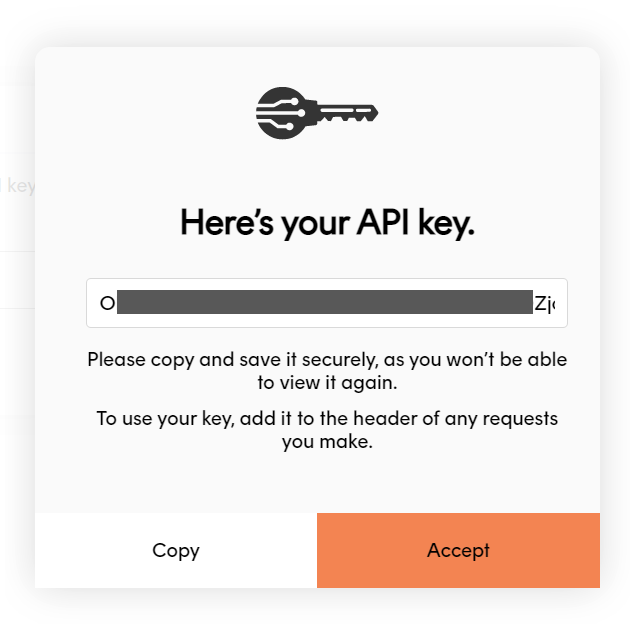
Click Copy to copy your API key to the clipboard. Track displays a message when your key has been successfully copied.
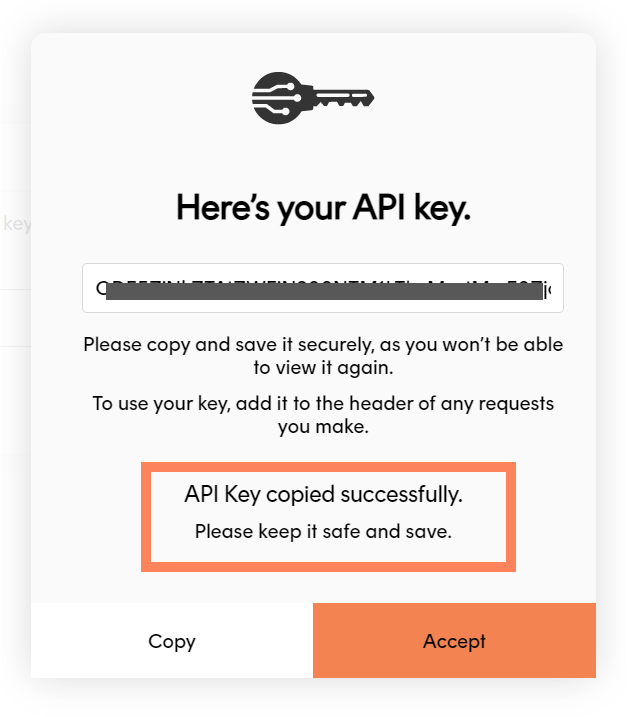
You should then paste the key into a secure file (that is, a file that can’t be accessed by anyone who you wouldn’t want to give you API key to).
To use your key, add an
x-api-key header to any requests you make. This lets Track know who you are, and makes sure that only authorised people and applications can get at your data.Rename an API key
To rename an existing API key, open the Settings > API Keys UI page and click Rename on the key you want to rename.
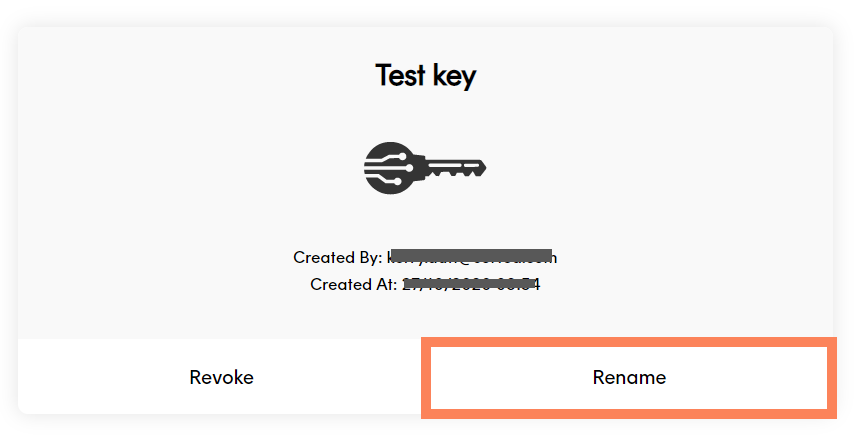
Track displays the Rename your API Key tile. Enter a new name and click Update to rename the key.
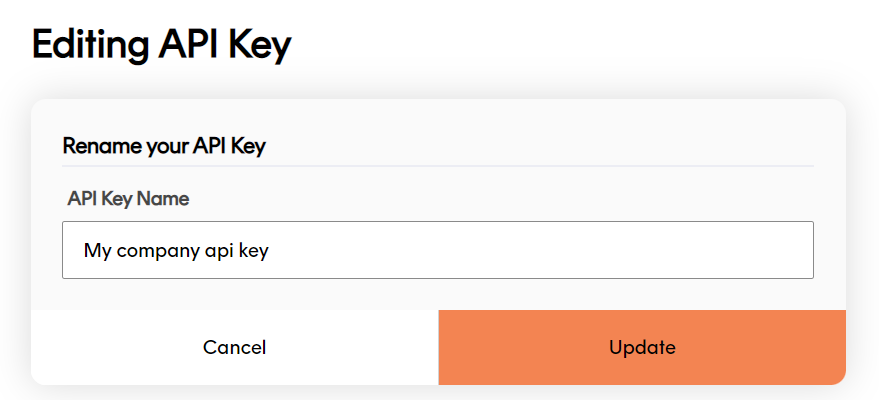
Renaming an API key only changes that key’s identifier on the Create & Manage API Keys page. It does not affect the key itself.
Revoke an existing API key
To revoke an existing API key, open the Settings > API Keys UI page and click Revoke on the key you want to revoke.
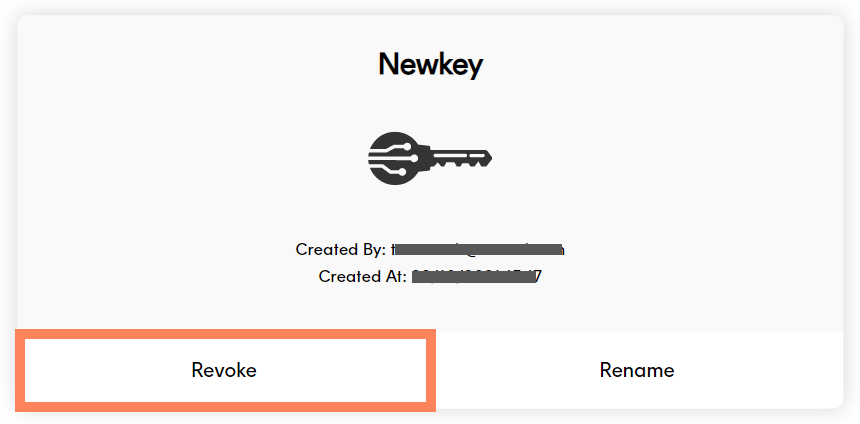
Click Yes on the confirmation dialog to revoke the key.
Revoking an API key deletes it permanently, and means that any API requests you have set up using that key will no longer work. If you attempt to send an API request using a key that has been revoked then Track returns a 401 Unauthorized response.
User access
Only Admin users can create and delete API keys.
Set up an SFTP account
Setting up a Track SFTP account enables you to upload shipments via Track’s SFTP file upload service. There is no limit to the number of SFTP accounts you can set up.
To set up an SFTP account:
From the Track dashboard, select Settings > SFTP Account to display the SFTP Accounts page.
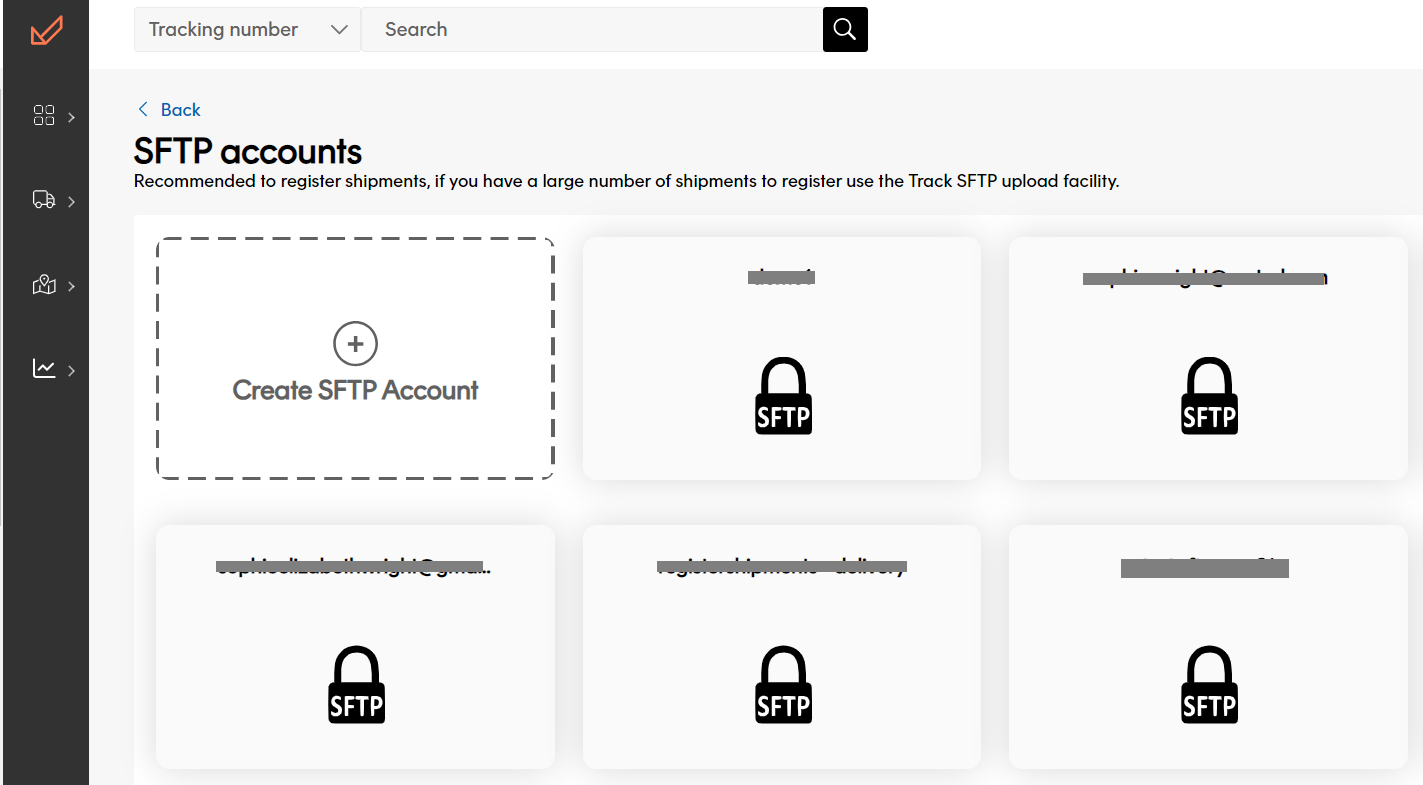
Click the Create SFTP Account tile to open the Creating an SFTP Account page.
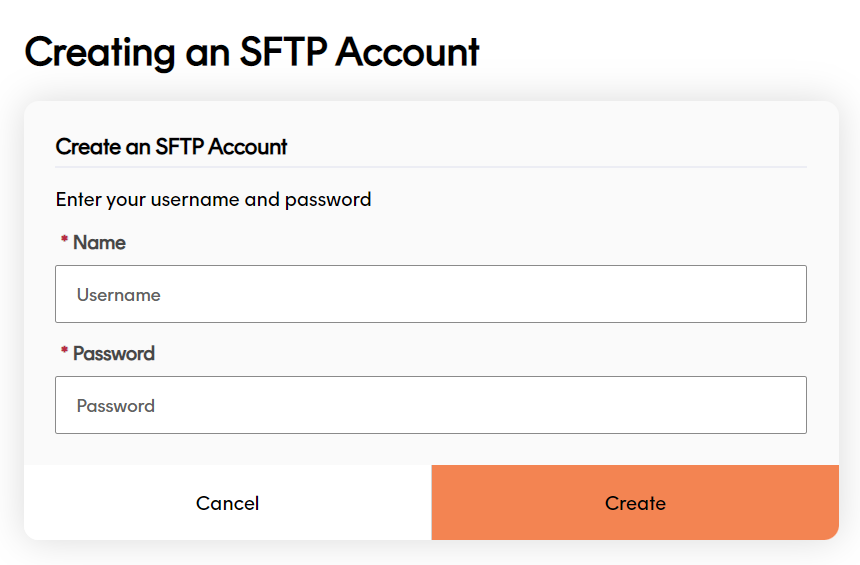
Enter a Username and Password. Your Username must have at least five characters and be unique (that is, you cannot have two keys with the same Username). Your Password must have at least eight characters.
Click Create to create the account. Track automatically generates a PPK key for your SFTP account and downloads it to your browser’s default download location.
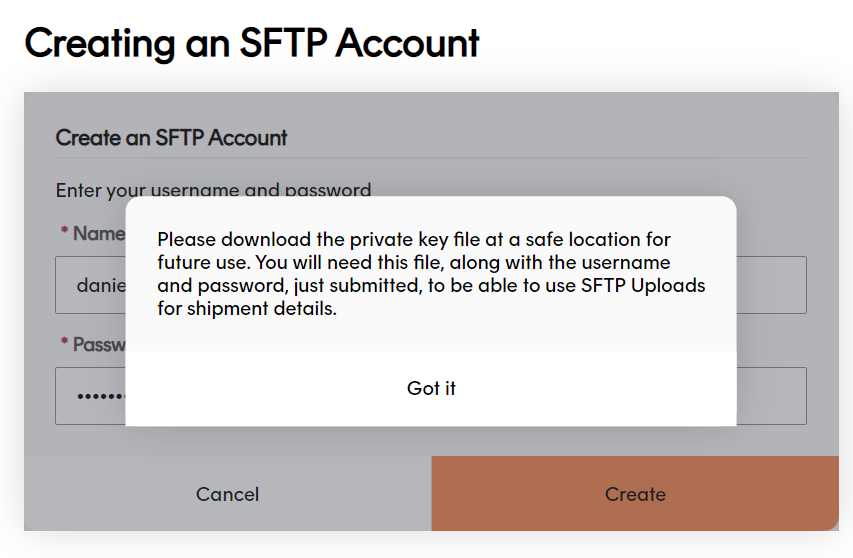
You should then ensure that the key file is stored safely (that is, in a location that can’t be accessed by anyone who you wouldn’t want to upload shipments on behalf of your organisation).
For more information on uploading shipment data to Track via SFTP, see the Registering Shipments by SFTP section of the Register Shipments page.
User access
Only Admin users can view, edit and delete SFTP accounts.
Set up carrier connectors
Carrier connectors enable Track to obtain carrier tracking data. Setting up a connector for a particular carrier means that Track can keep its records of that carrier’s shipments up to date.
You must already have an account with the carrier in order to successfully set up a carrier connector.
Once the connector is set up, Track keeps you in the loop by automatically accessing tracking data for any registered shipments with that carrier. To enable and disable existing connectors, use the Active toggle on the connector’s tile.
Add new carrier connectors
From the Track UI, select Settings > Carriers.

Click Connect on the tile of the carrier connector you want to set up. Available carrier connectors are displayed as tiles in the All Carrier Connectors available section of the screen.
Some carriers may display more than one connector. This is because, for these carriers, there are multiple integration methods that Track can use to get the carrier’s data. For example, a particular carrier may allow Track to get data by API, file download, and web scraping. You should use whichever connection method your carrier account grants you access to.
Track displays the Create Configuration page for that connector.
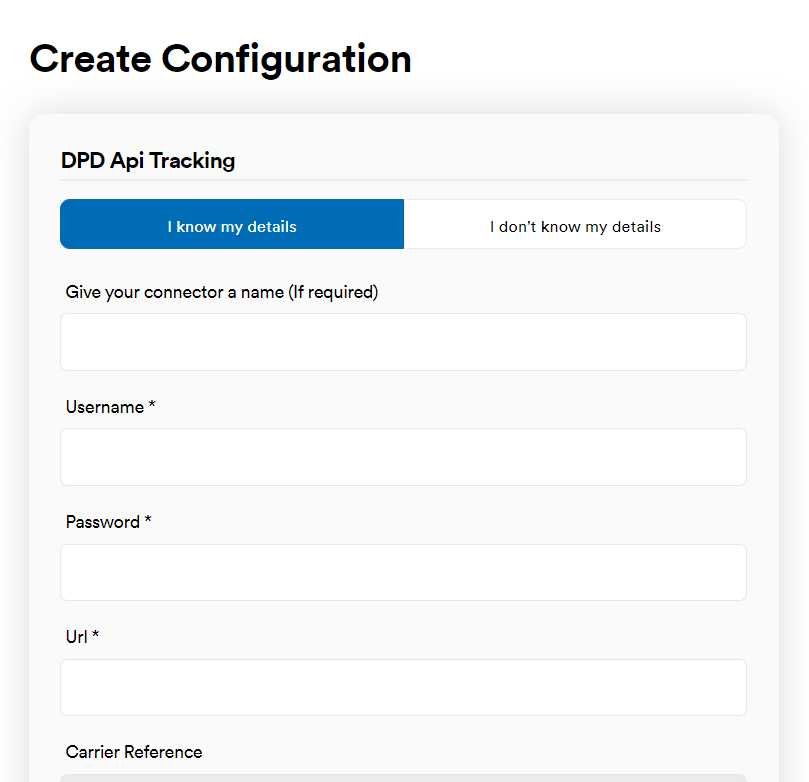
Enter the required details. The information required varies from carrier to carrier.
Click the check box at the bottom to confirm that you give permission for Track to retrieve tracking events on your behalf and then click Save to create the connector.
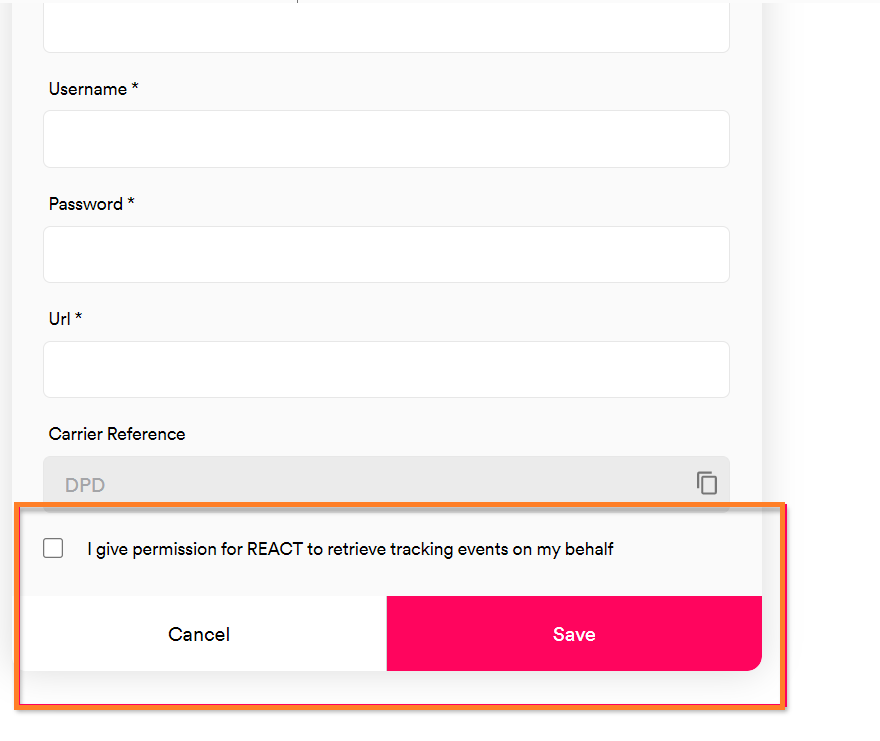
The Create Configuration page displays the carrier’s Track reference in the Carrier Reference field. This is a unique identifier generated by Track for all carrier integrations, and can used when registering shipments as a means of explicitly telling Track where to look to get tracking information. For more information on assigning carriers at shipment registration, see the assigning a carrier on registration section of the Registering Shipments page.
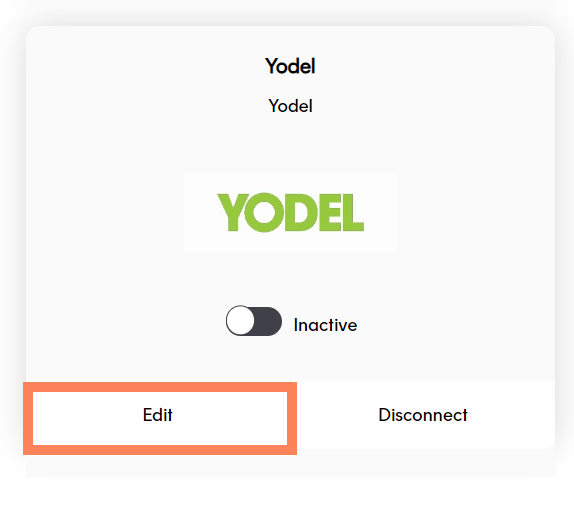
Edit existing carrier connectors
To edit an existing carrier connector, open the Settings > Carrier Connectors UI page and click Edit on the connector you want to edit. Existing carrier connectors are displayed as tiles in the Current Carrier Connectors section of the screen.
Track displays the Edit Configuration page for that carrier. Make the required edits and click Save to save your changes.
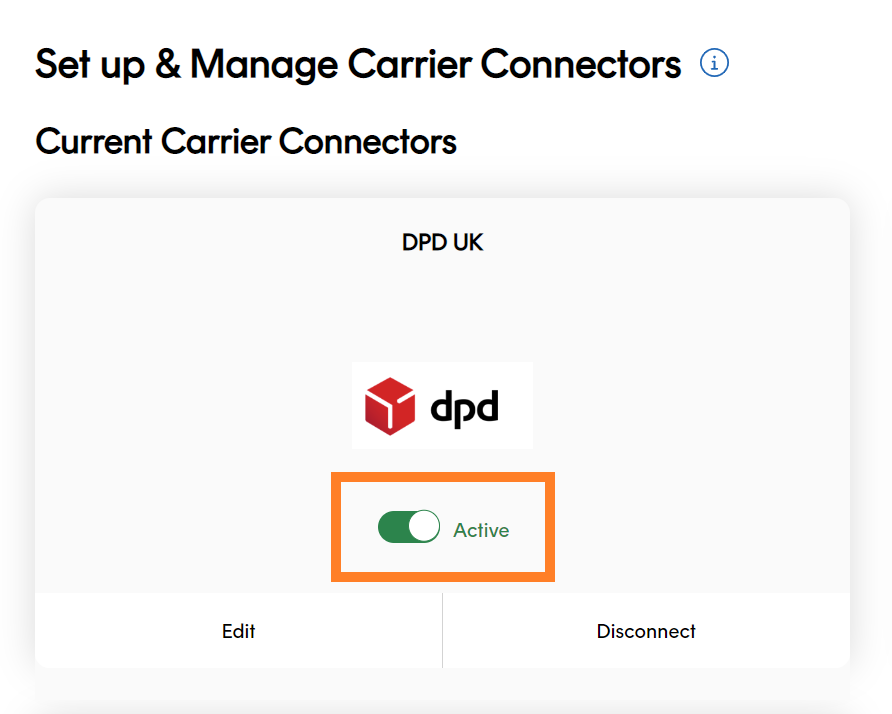
Deactivate existing carrier connectors
To deactivate an existing carrier connector, open the Settings > Carrier Connectors UI page and click the Active toggle on the connector’s tile. The toggle switches to the Inactive position, confirming that the connector has been deactivated.
Deactivating a carrier connector means that Track can no longer retrieve data via that carrier integration. However, the carrier’s configuration is saved, and the carrier can be reactivated by clicking the toggle again.
To permanently disconnect a carrier, open the Settings > Carrier Connectors UI page and click the Disconnect button on the connector’s tile.
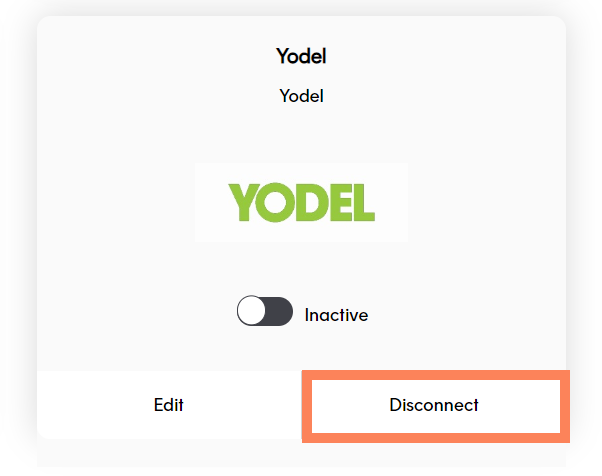
A confirmation dialog is displayed. Click Yes to disconnect the carrier.
Disconnecting a carrier connector deactivates it and deletes all of its configuration. To reinstate a disconnected carrier connector you would need to set it up again as a new connector.
User access
Only Admin users can view, edit and delete carrier connectors.
Set up custom state labels
Shipment state labels enable you to explain shipment states in your own brand tone of voice, using language that your customers will understand. Track returns shipment state labels in the state_label field of the Shipment, Shipment Event, and Shipment Tracking Event resources.
Track’s Customise Shipment State Labels page enables you to configure custom shipment state labels in the following languages:
- English (United Kingdom)
- English (United States)
- German (Germany)
- French (France)
- Spanish (Spain)
- Italian (Italy)
- Russian
- Japanese
All shipment state label fields are optional. If you leave a label field blank, then Track returns the shipment state’s default name as the label.
To set up custom shipment state labels:
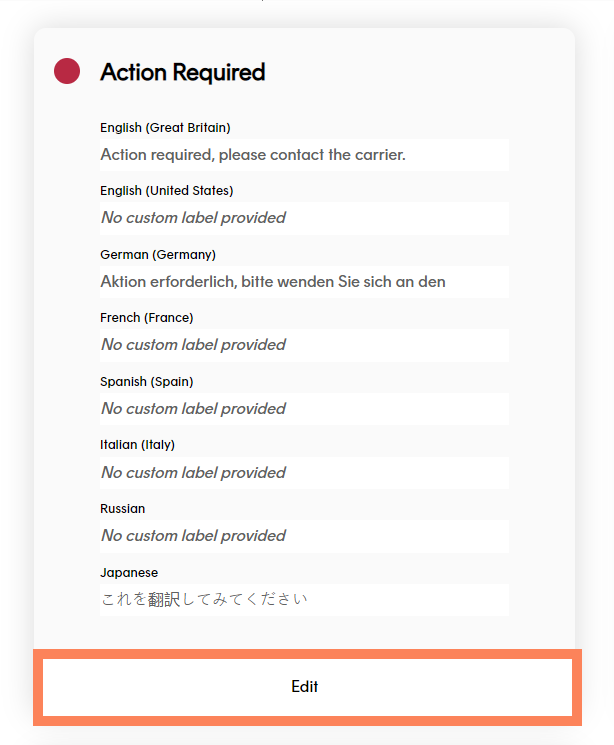
Open the Settings > Custom State Labels UI page to display Track’s shipment states. Each shipment state tile contains any labels that are currently configured for that state.
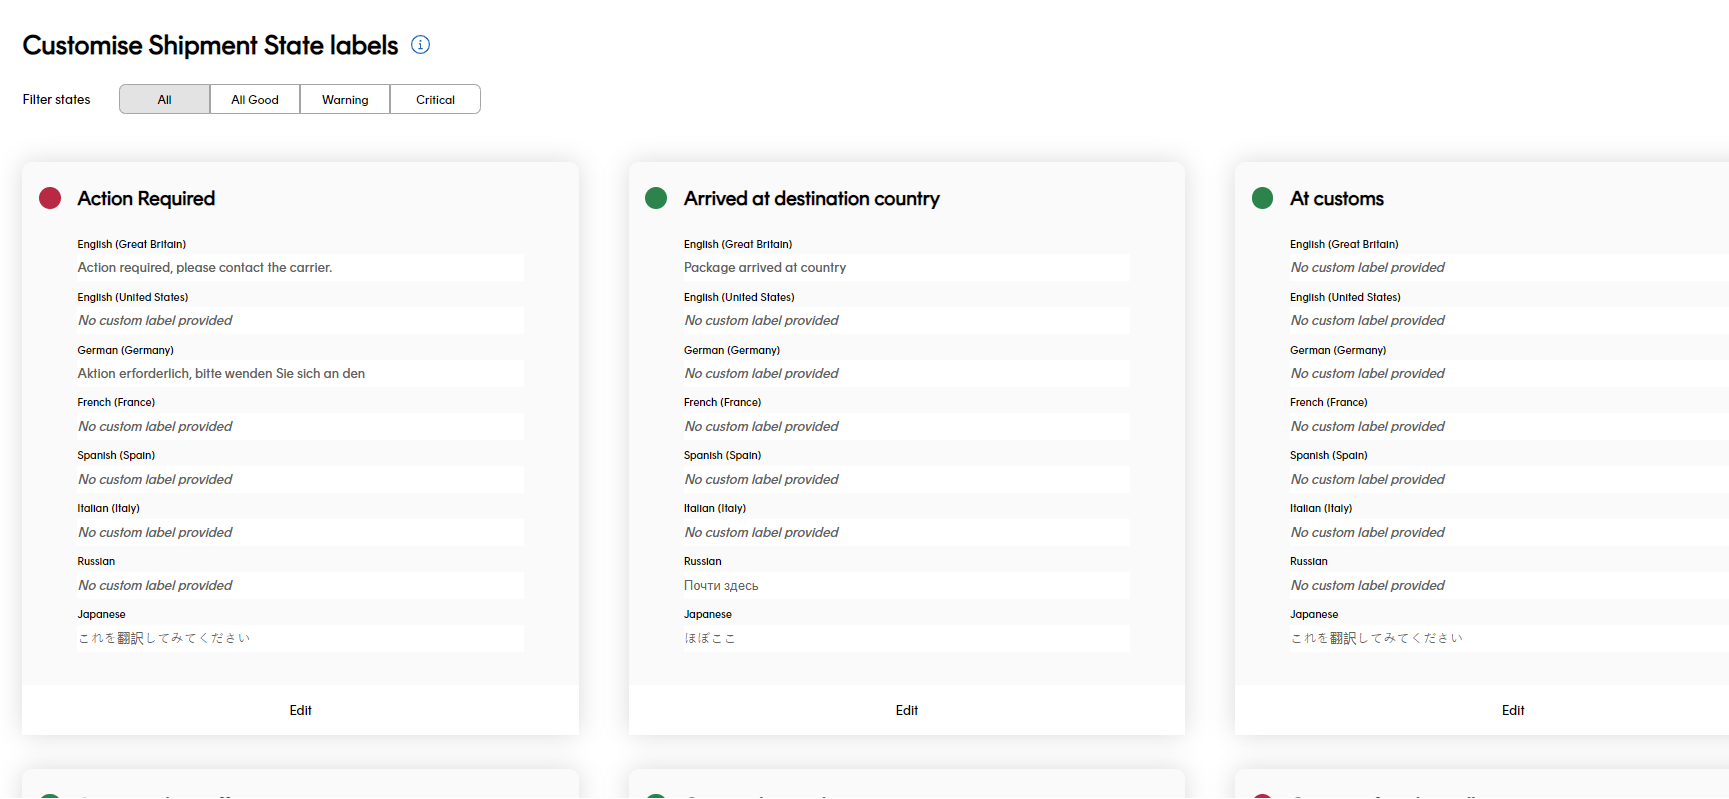 The Filter States buttons at the top of the page enable you to filter the states displayed by red / amber / green status.
Click the Edit button on the state you want to edit.
The edit page for that state is displayed.
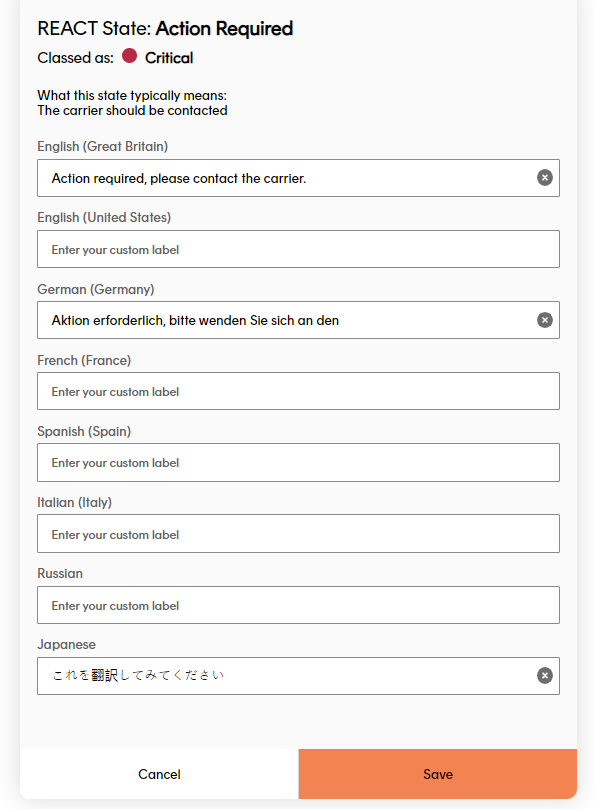
Enter the required labels for that shipment state into the language fields and then click Save to save your changes.
Select label language
By default, Track’s APIs and webhooks return labels in en-gb (English - United Kingdom). To retrieve labels in languages other than en-gb, add an accept-language header with the relevant language code as its value to your API request.
For example, to retrieve language labels in German, you would first need to use the Customise Shipment State Labels page to add German labels to your shipment states. You would then add an accept-language header with a value of de to any API requests you made. In its responses, Track would populate the state_label field with your German labels.
Create a custom event type
Custom events give you the flexibility to define your shipments based on an event type that can be created specifically for your delivery operations. This will be outside of the events defined by Track for carriers and shipments. This can help streamline shipment tracking and trigger automated communications to your customers.
You must first define a custom event type in Settings before you set up shipment filters to capture your shipments based on the custom event type.
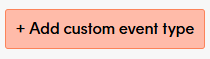
Go to Settings > Custom event types.
Select Add custom event type.
Provide a name for your custom event eg. Warehouse failure.
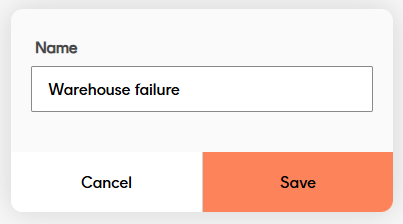
With your custom events defined, you can now use Shipment Filters to capture shipments with this particular event.
User access
Admin and Marketing users can view, edit and delete custom state labels. Dashboard users do not have access to this feature.
Next steps
View our product feature guides below: